
My sister-in-law Casey has a really gorgeous sour cherry tree in her front yard. In an attempt to further my foraging skills, I decided I’d pick a whole bunch and figure out what to do with them.
This post is photo-heavy, but I can’t help it! I had fun. The kids had fun. Sour cherries are fun!
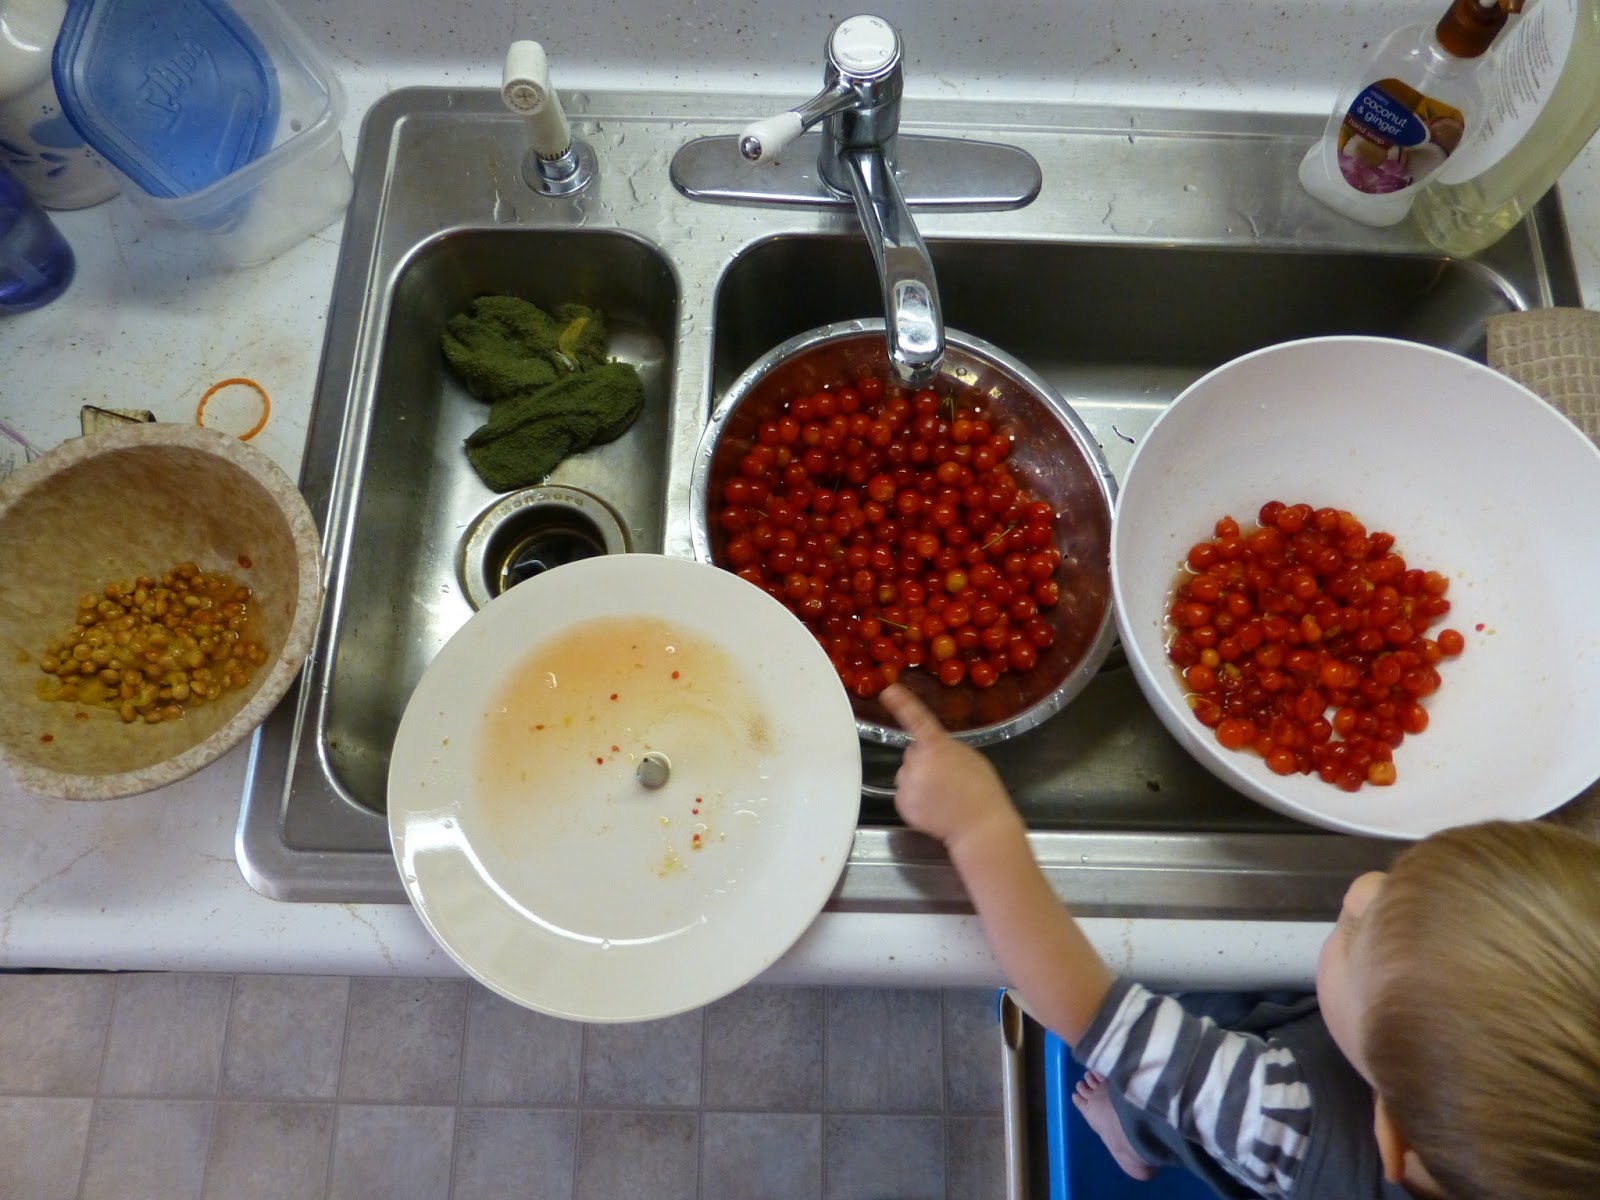
If you have a taste for sour, like these two little guys do (they also are big fans of eating lemons), just eat them plain as fast as you can, as a grownup sits nearby patiently trying to pit them for other uses.

Then, if you are like these sour-loving boys, you must get your friend to try the raw cherries. Just to see his priceless reaction.


I personally do not have that taste for sour. Which explains why I never took any real interest in sour cherries, despite the tree that has lived in my parents’ yard most of my life (and is now slowly dying). My mom made a few pies this year after my dad got up on his ladder and picked cherries from the side that still looks lively. My dad just doesn’t have the heart to cut the tree down as long as it produces something. Plus, he’d not admit it to just anyone, but I think he feels a real connection to the dozens of trees on his property, many of which he planted himself when I was just a baby.
Wash and Pit your cherries before doing anything else.
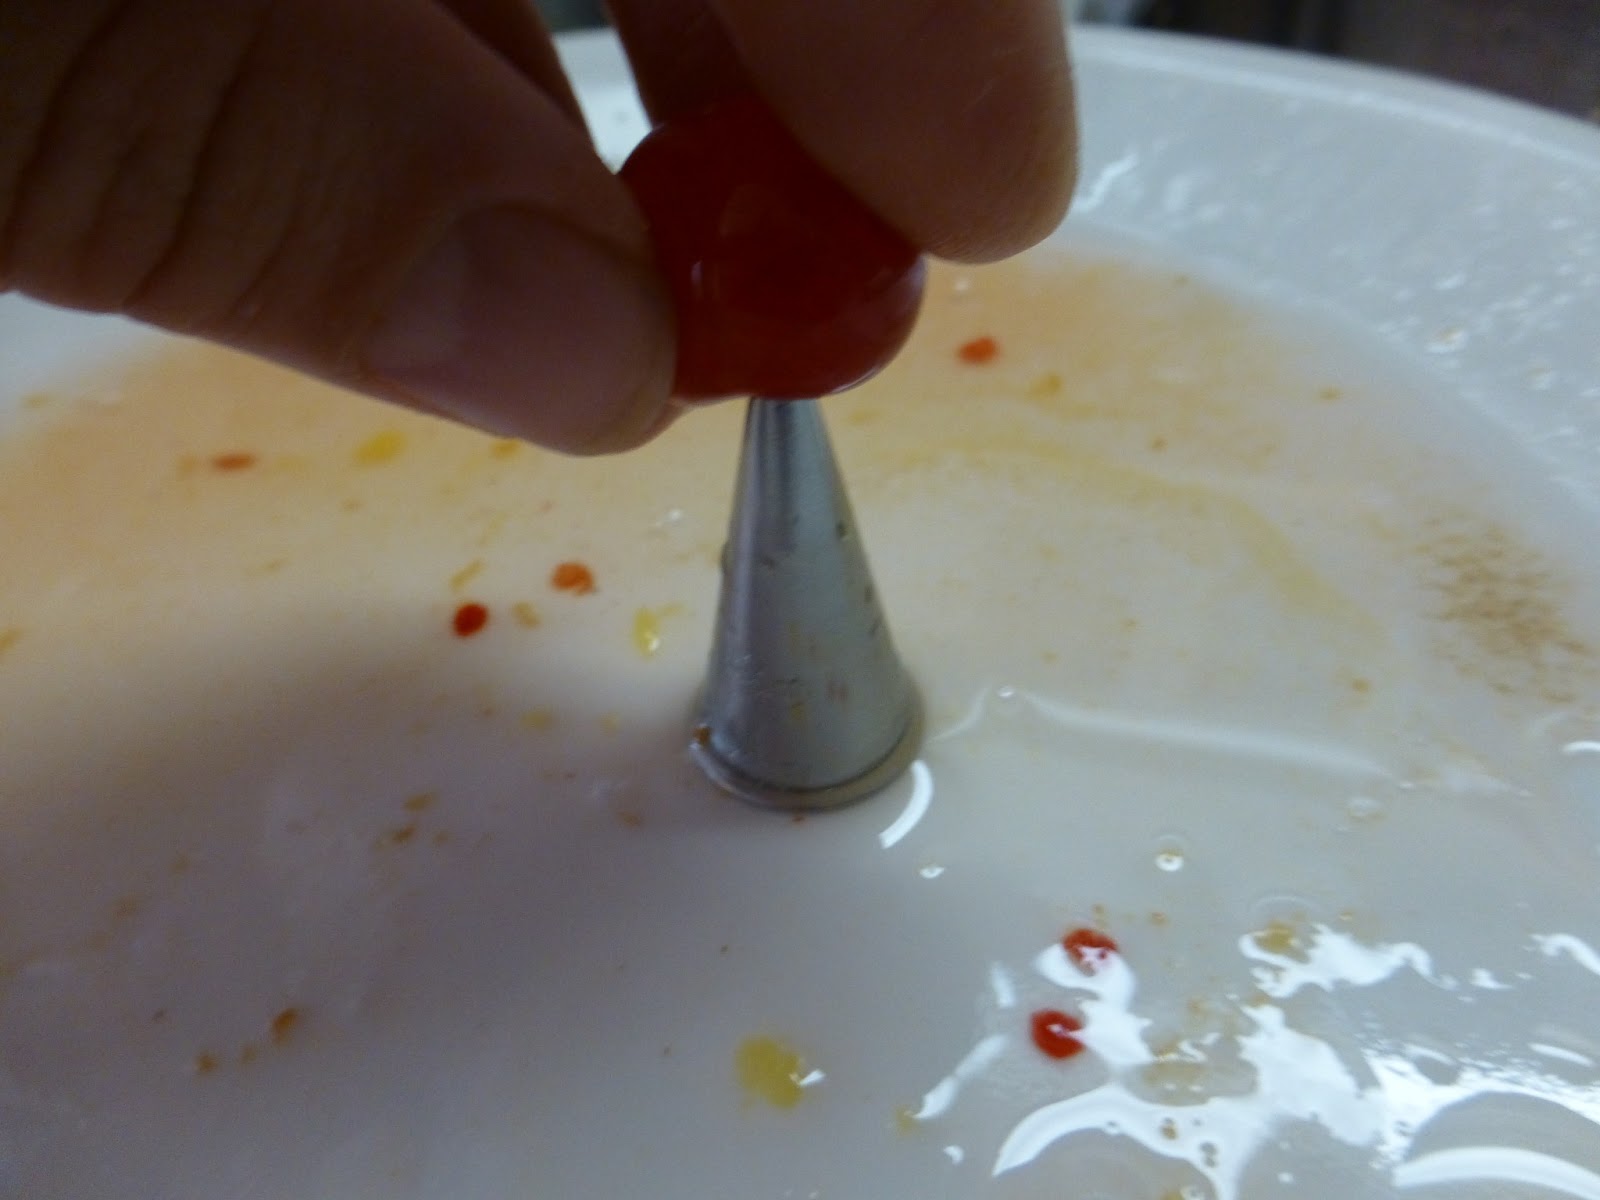
I got very quick at pitting the cherries using a frosting decorator thingy. I don’t really have another name for the little doo-dad, but you’ll see it in these pics. I set the ‘thingy’ on a plate, point up, and stabbed each cherry on the stem end. After being stabbed, the pit was easily squeezed out, or if it didn’t pop out, it took a very quick digging motion with my thumb or finger to remove the seed. (Later my mom showed me the hair pin she uses to pit her cherries. Her method makes more sense. I will have to find a hairpin like that.) Or, click here to see someone using a paperclip; another great idea. My method actually worked out pretty well, so it’s a valid option; just find out what is quickest and easiest for you. Pitting cherries is a bit tedious, I won’t lie, but the efforts pay off so tremendously.


Okay, take your pitted cherries and make something delicious. If you’re exhausted, freeze the cherries for some future date. Or, take a nap. 🙂 Now on to some fun ways to prepare the cherries:
1). Dried.
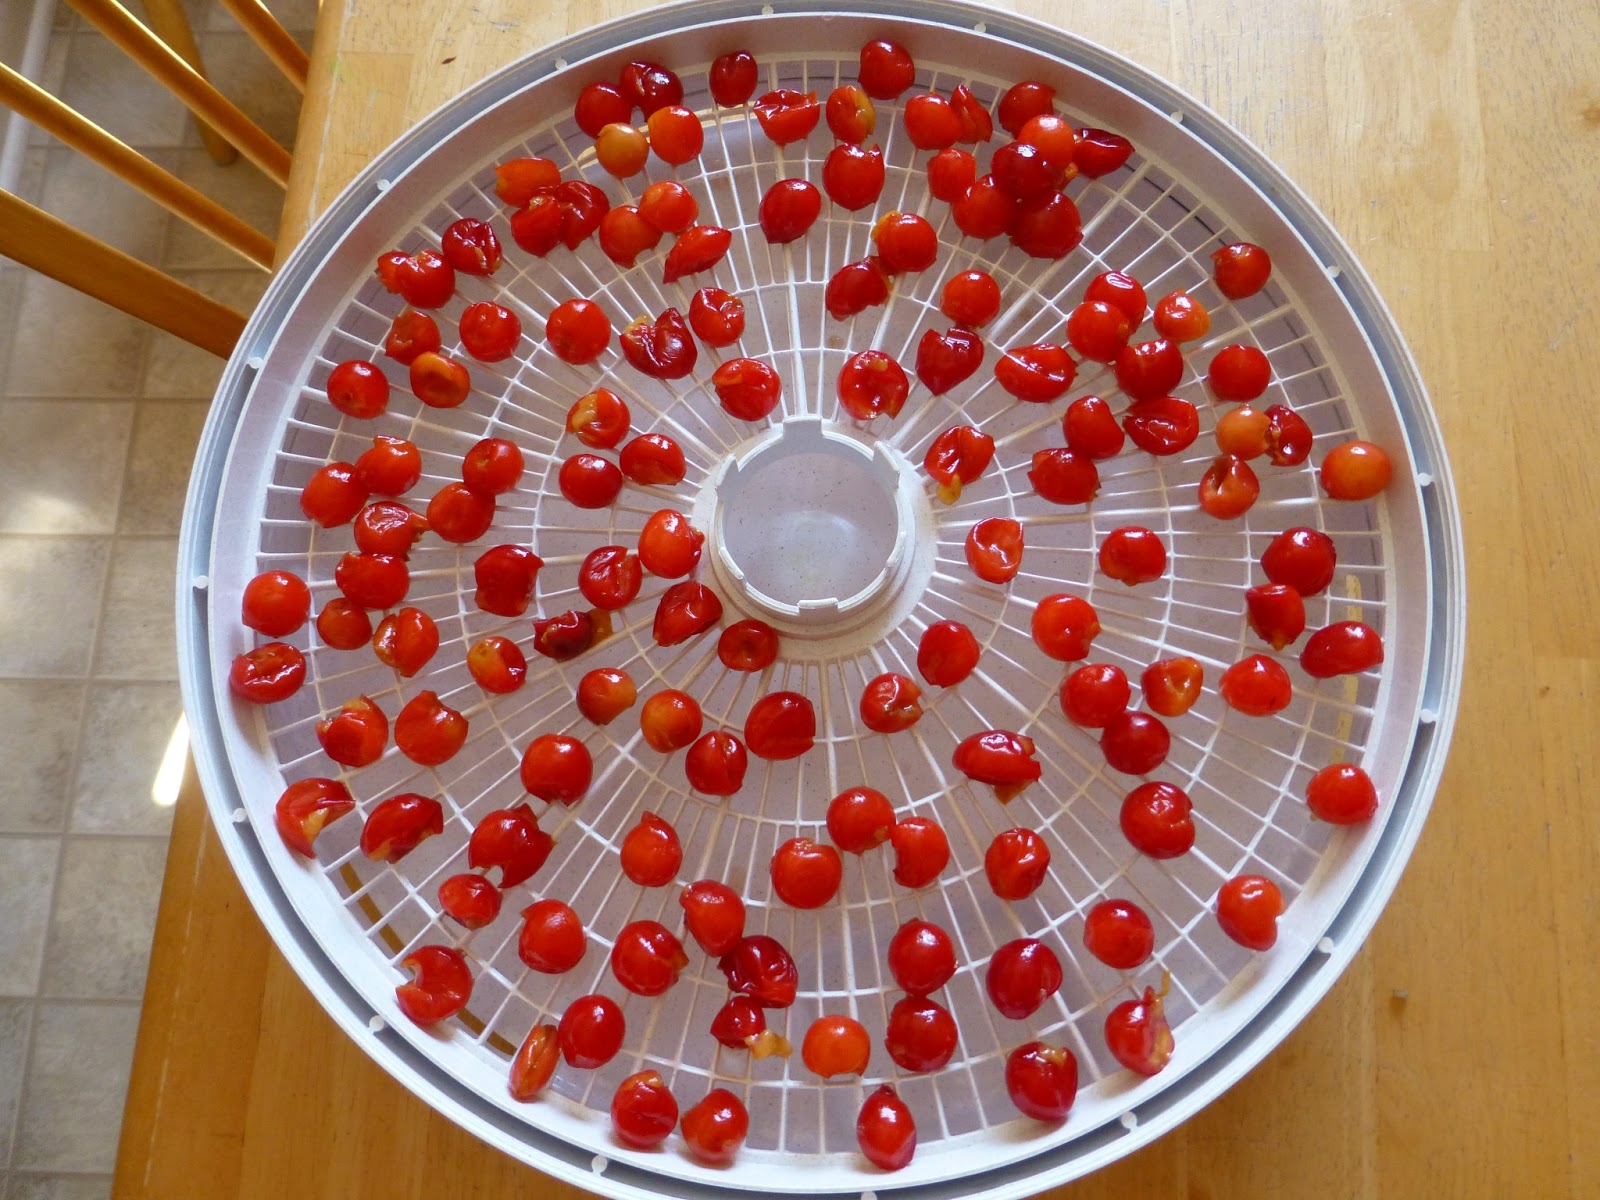
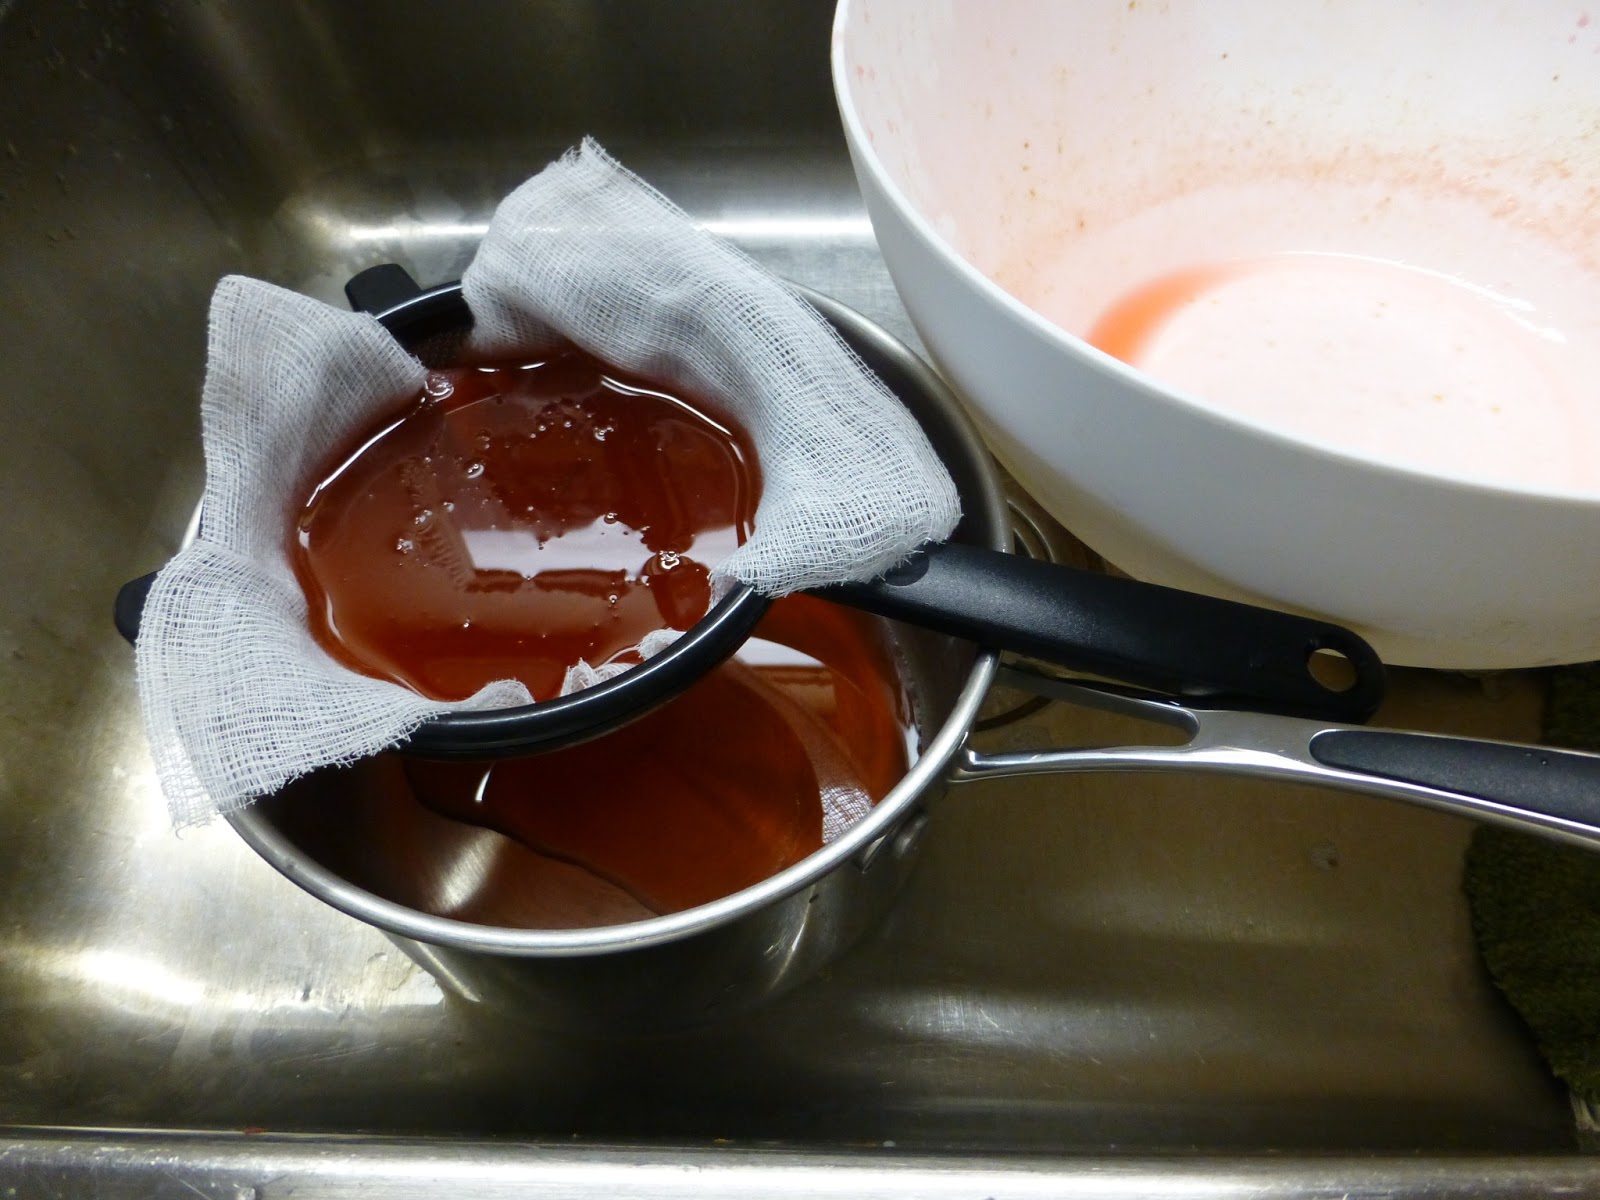
I actually did this two different times. On my first attempt, I divided the cherries in half before drying; half of them went on the drying rack plain, the other half I cooked for a minute in sugar, then cooled and drained them before laying them on the drying rack. I ran the dryer for way too long, and while the cherries were still edible, they turned out tiny and crisp. The verdict on sweetening the cherries with sugar before drying? I don’t think it’s necessary; the sugared cherries didn’t turn out that much different than the plain. The extra effort didn’t go to waste, however, because I was left with a pint of amazing cherry syrup that went to a couple other uses, as you’ll see later.

The second round of dried cherries turned out more plump and chewy (I didn’t bother to sweeten them this time). I had read somewhere to arrange the cherries pits-down, so I did. I made sure to check the dehydrator more often, to prevent little crispy cherries. Can I just take a minute here to say– the thing about drying food is that its so inexact, it drives me insane. I’m constantly checking the food, looking for moisture or lack thereof. I’m never really quite certain when I’ve approached that fine line between safely preserved fruit and …well, jaw-straining leather. Anyway, the second batch turned out wonderfully and after a few days in a container they seemed to lose more moisture. They won’t last long, so I won’t worry too much about if I dried them sufficiently or not.
Though really tart eaten plain, these dried cherries will be great to use in granola and cookies and other baked goodies. We made these cookies here with some of our dried cherries, and we loved them!
If you dry a whole bunch of cherries and want them to last longer, try this:
To vacuum pack the dried cherries, place in canning jars, attach lids loosely and place in
a 325/ oven for 15 minutes. At the end of the 15 minutes, remove and tighten lids. Vacuum packaged cherries will keep longer.
2). Cherry Jam
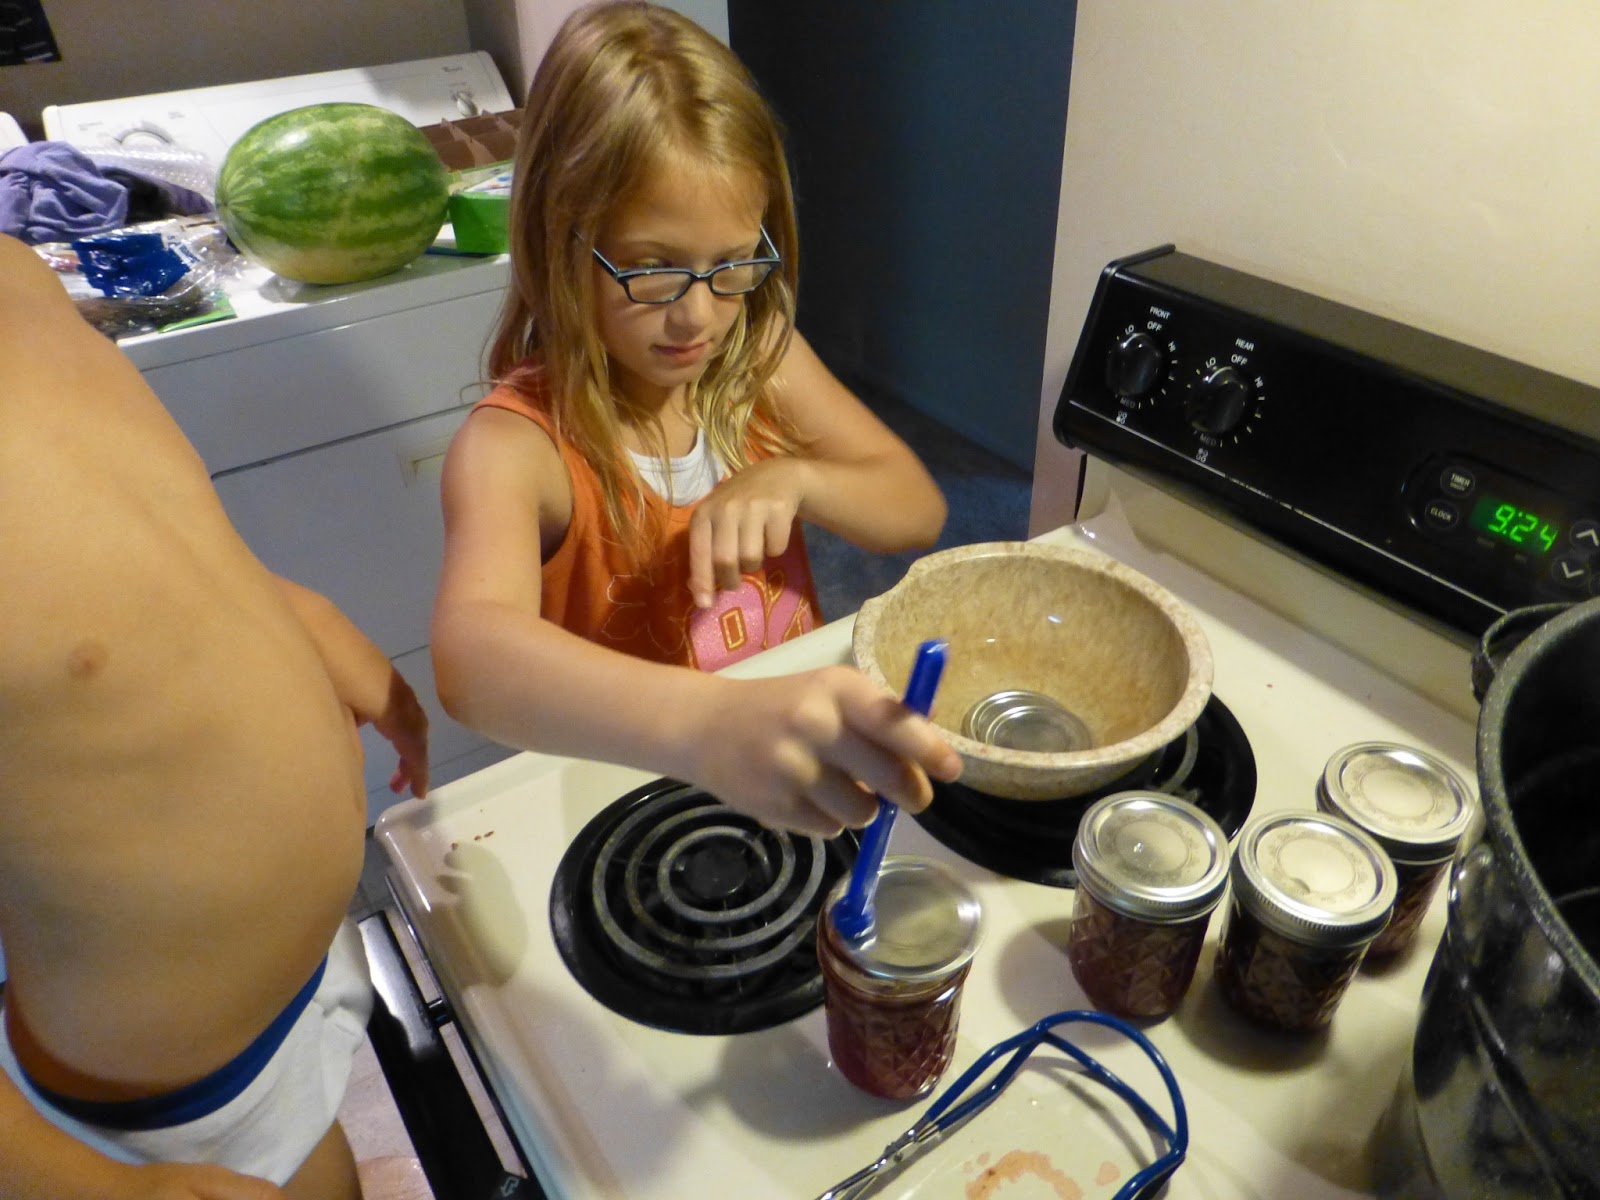
This one is obvious, right? Just like cherry pie filling, if you add enough sugar, these almost-painfully sour babies become a luscious treat. Here are the photos of me and Rylee (and Simon for about 30 seconds during food processor time) making jam. I used a box of pectin and followed the directions–nervously and to a tee. The instructions made jam-making seem like a very exact science. I was convinced the jam would not turn out, especially since when we pulled it out of the canner it still looked like juice in the jars. After a few hours, though, the jam solidified in the jars, and we opened one up for a sample party. DELICIOUS!


 |
| When the work is done, canning tools are great fun. Grab your brother’s head with the jar lifter… |
 |
| …or go lid fishing. Wearing only your underwear, of course. |

3). Cherry Pies
Isn’t cherry pie a given? Now, we didn’t make these, yet. But we have another round of cherries to pick. We are actually hoping to head out to Aunt Casey’s (who lives only a mile or so away from us) to pick another harvest. These mini pies that I found online look just perfect for us.
(afternoon update: we headed to the cherry tree today, and were only able to pick about 20 cherries! Suddenly, the cherries seem much more precious to me, as I realize the season is over. If I’d gone just a few days ago, I would have been able to pick another 6-10 pounds. I’m assuming the birds finally found them. Lesson learned: pick the fruit when it’s ready, not when you are ready!)
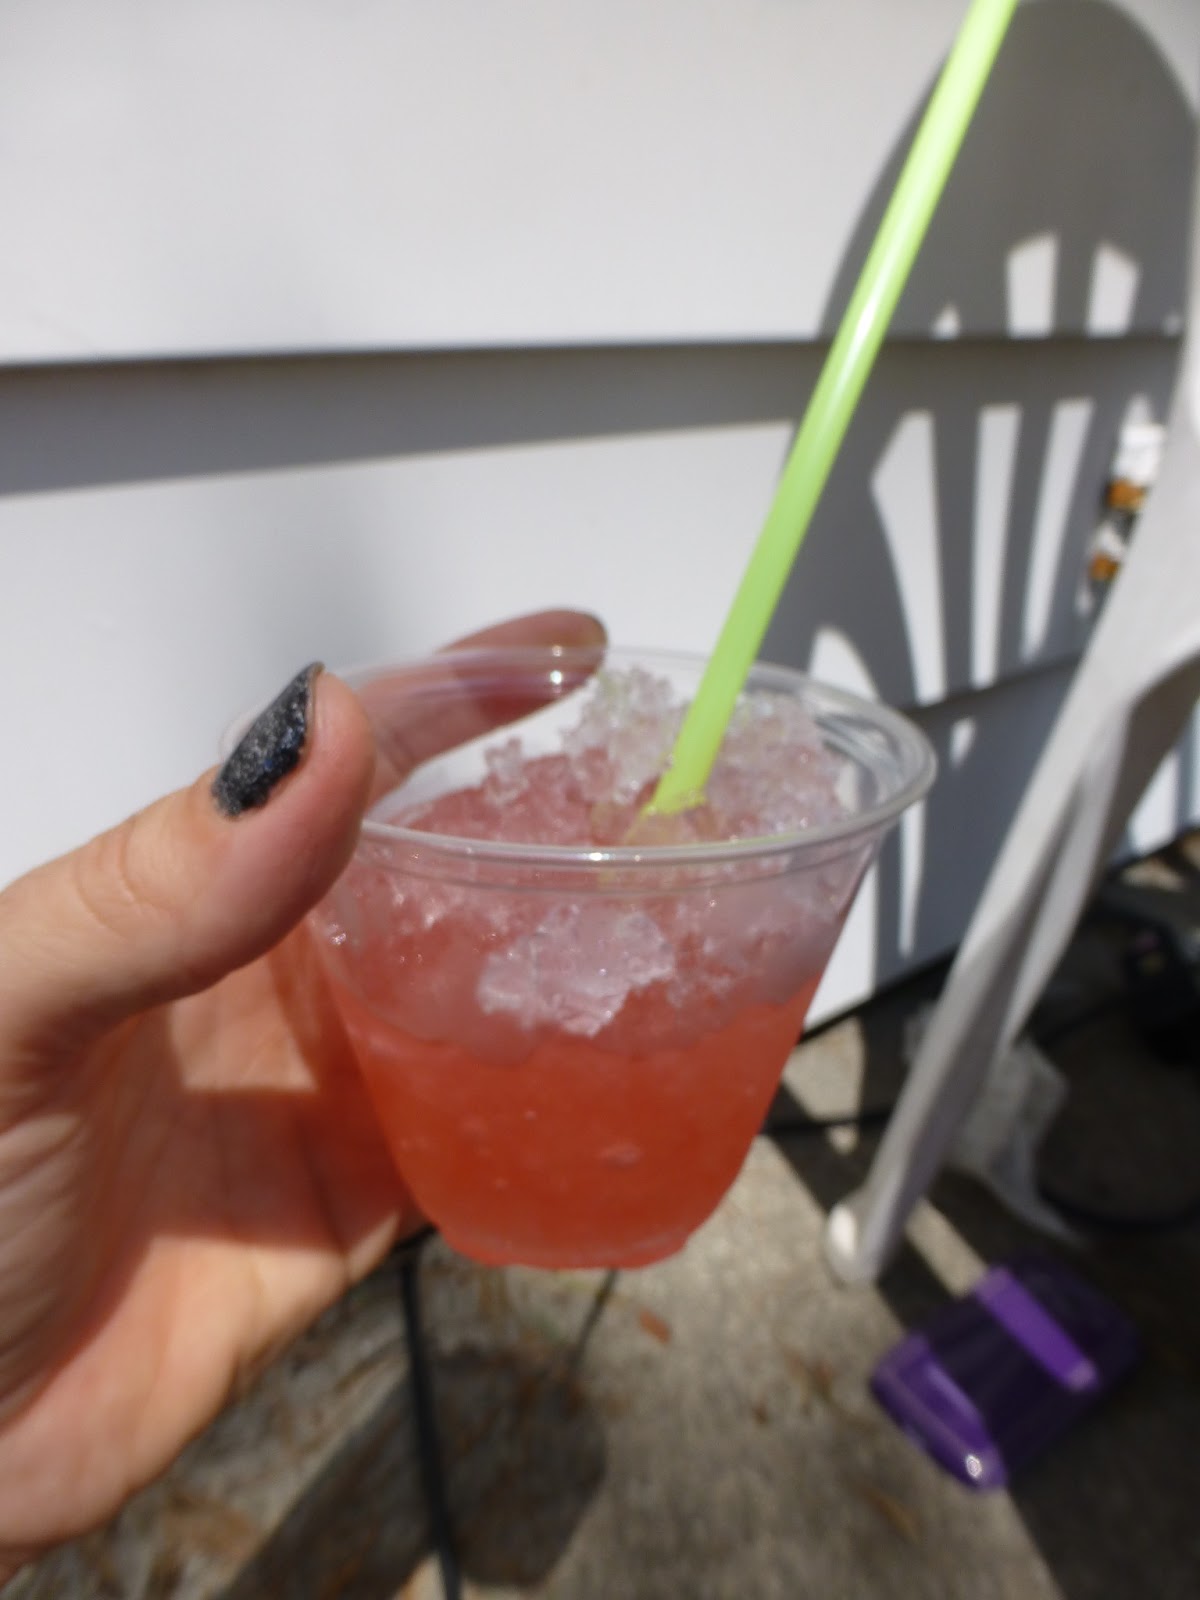
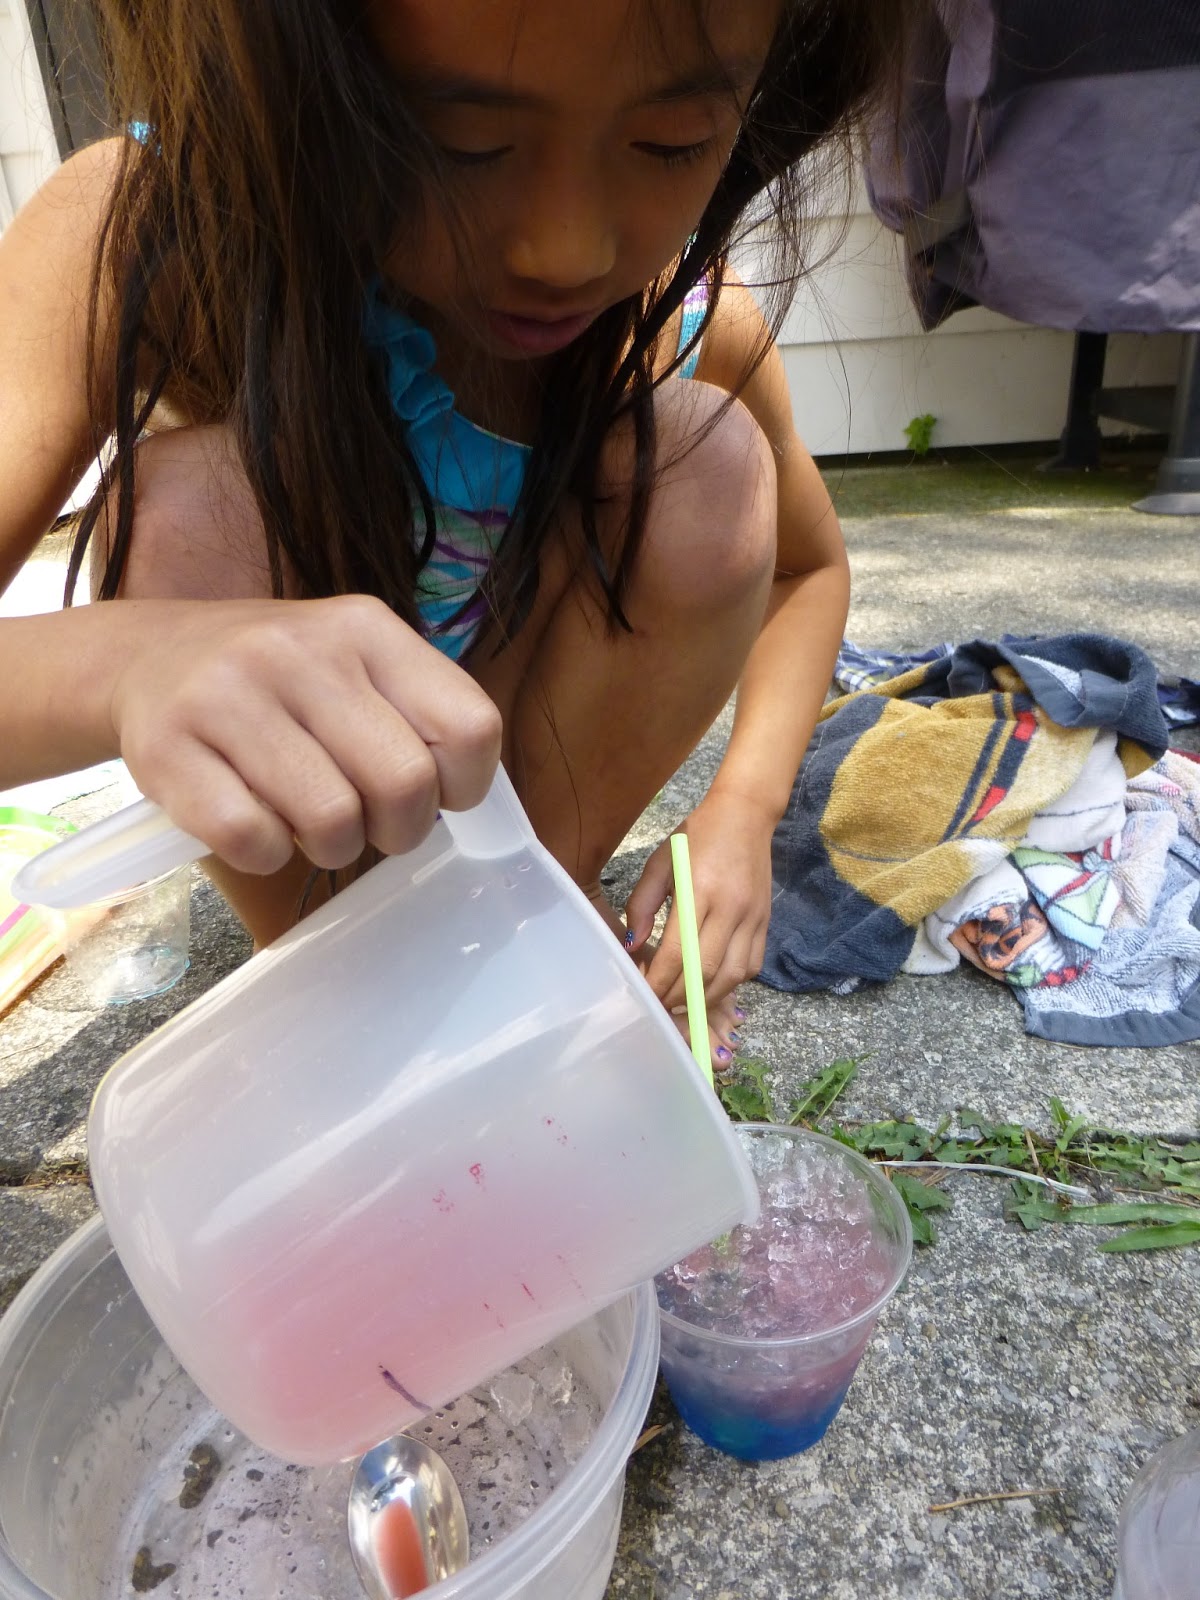
4). Snow Cones
A few weeks ago, we were given an ice shaver. What a great gift! We’ve used it almost every other day already. I’m not thrilled about the ingredients in the store-bought snow cone syrup, though (namely, high fructose corn syrup, which I’ve been trying hard to avoid). The cherry syrup leftover from drying cherries seemed to be calling out for this very purpose. The kids had mixed feelings–half said it was great, half said too sour–but I thought it was amazing. And using the sour cherry syrup made me realize I can try making syrup out of other fruits for our snow cones, and hopefully continue to avoid HFCS. I don’t know if the kids will be willing to give up the shockingly blue snow cone syrup, no matter what delectable homemade flavors we come up with…stay tuned for the outcome on that one. I do have to pick my battles when I’m dealing with up to 10 kids on any given day. 😉

5). Kefir Flavoring
I’m new to making water kefir, but I’m absolutely addicted. I’ve been purchasing milk kefir for quite some time because it just makes me feel good to drink it (seems to help my digestive system and stave of illnesses). I’d never heard of water kefir, however, until Aunt Lori mentioned it on facebook (and then graciously gave me some of her grains so I could start my own). For information on what kefir is and how beneficial it is, click here. I’m still recovering from a soda pop addiction, and the subtle carbonation in the lightly sweet fermented kefir gives me a bit of a fix. Our leftover sour cherry syrup (just a tablespoon) went into this batch, along with some berries, and the flavor was sweet-yet-tangy-and-so-delicious! You could also use juice (below) instead of syrup; just use more, to your taste.
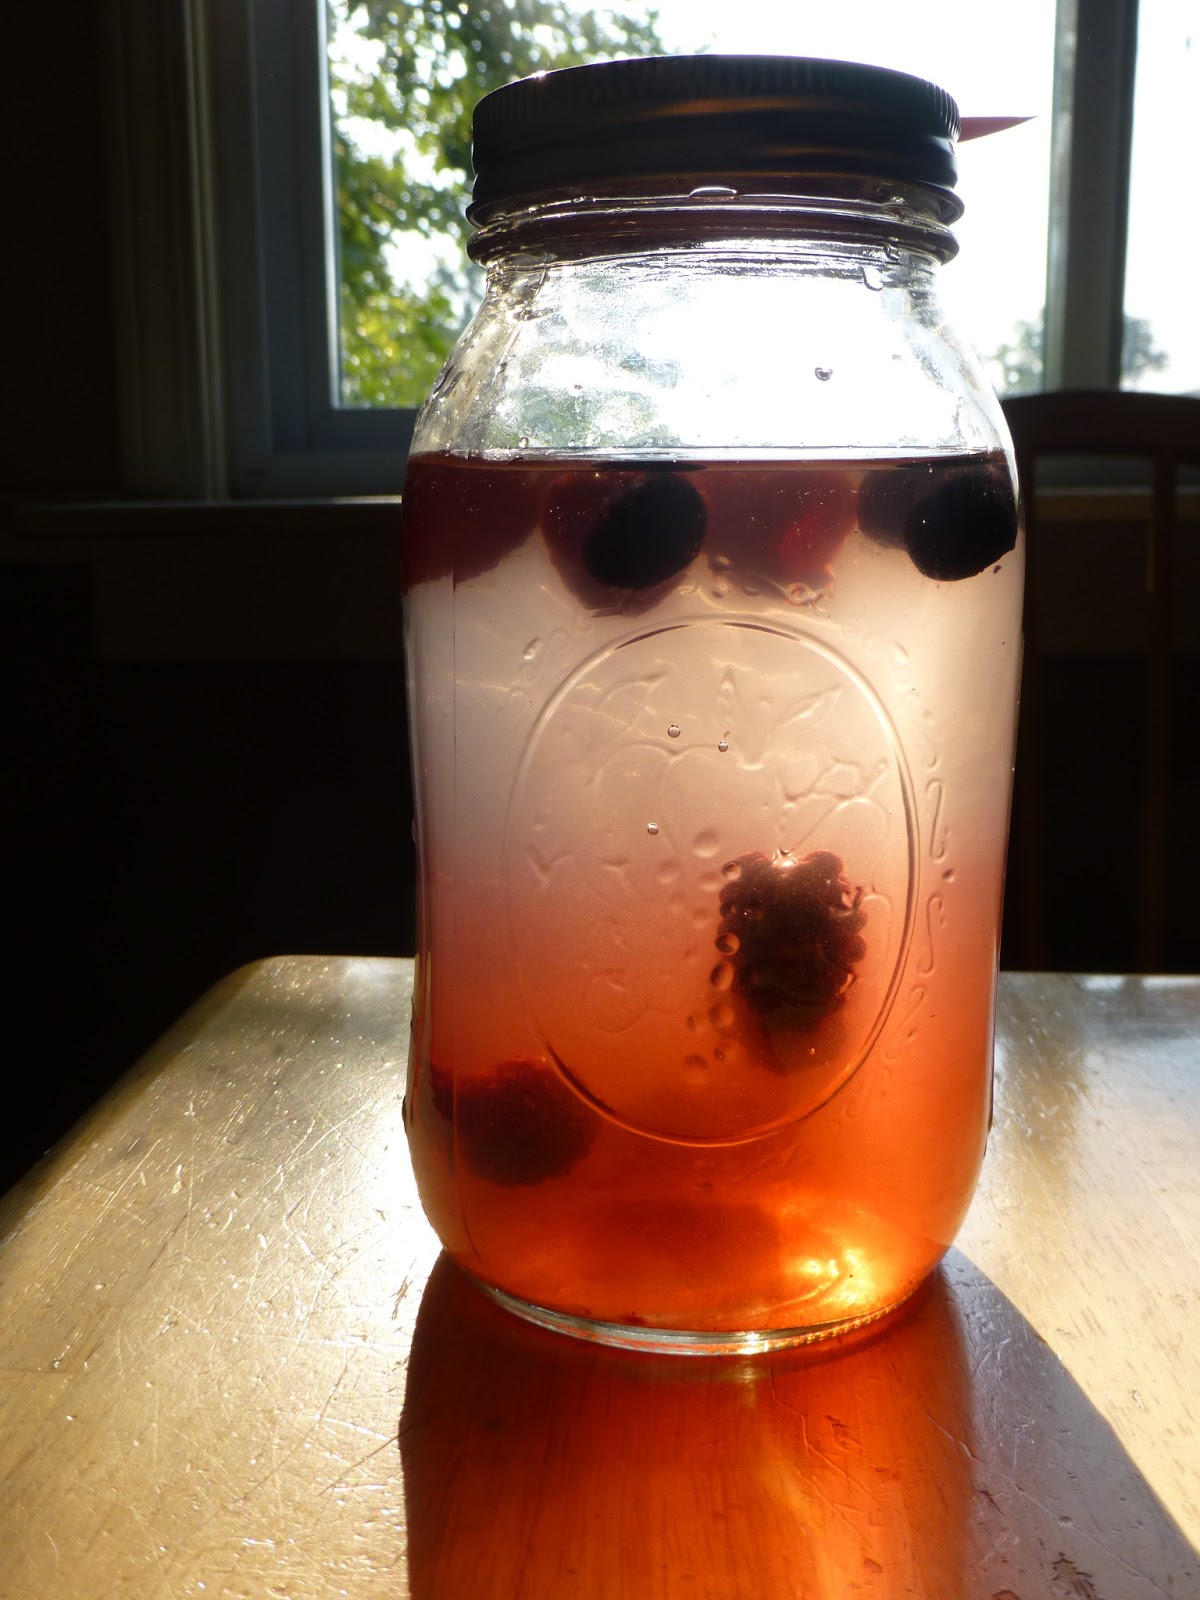
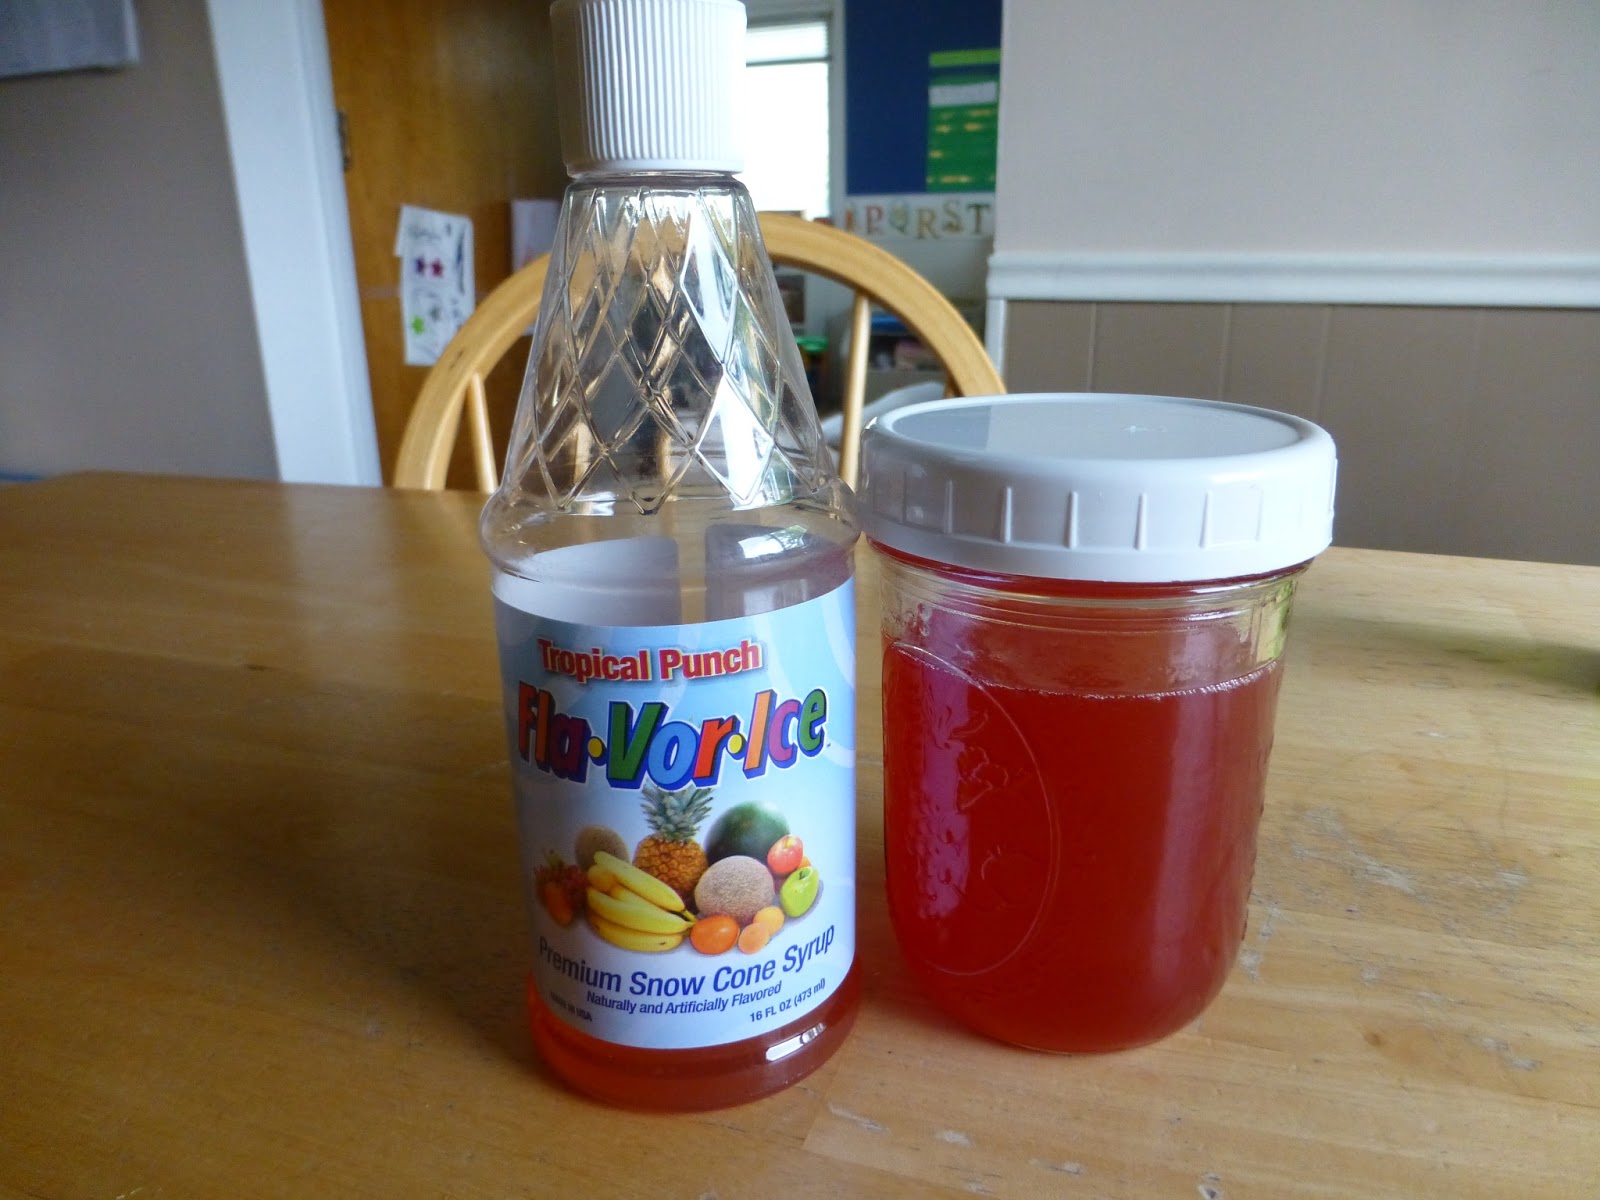
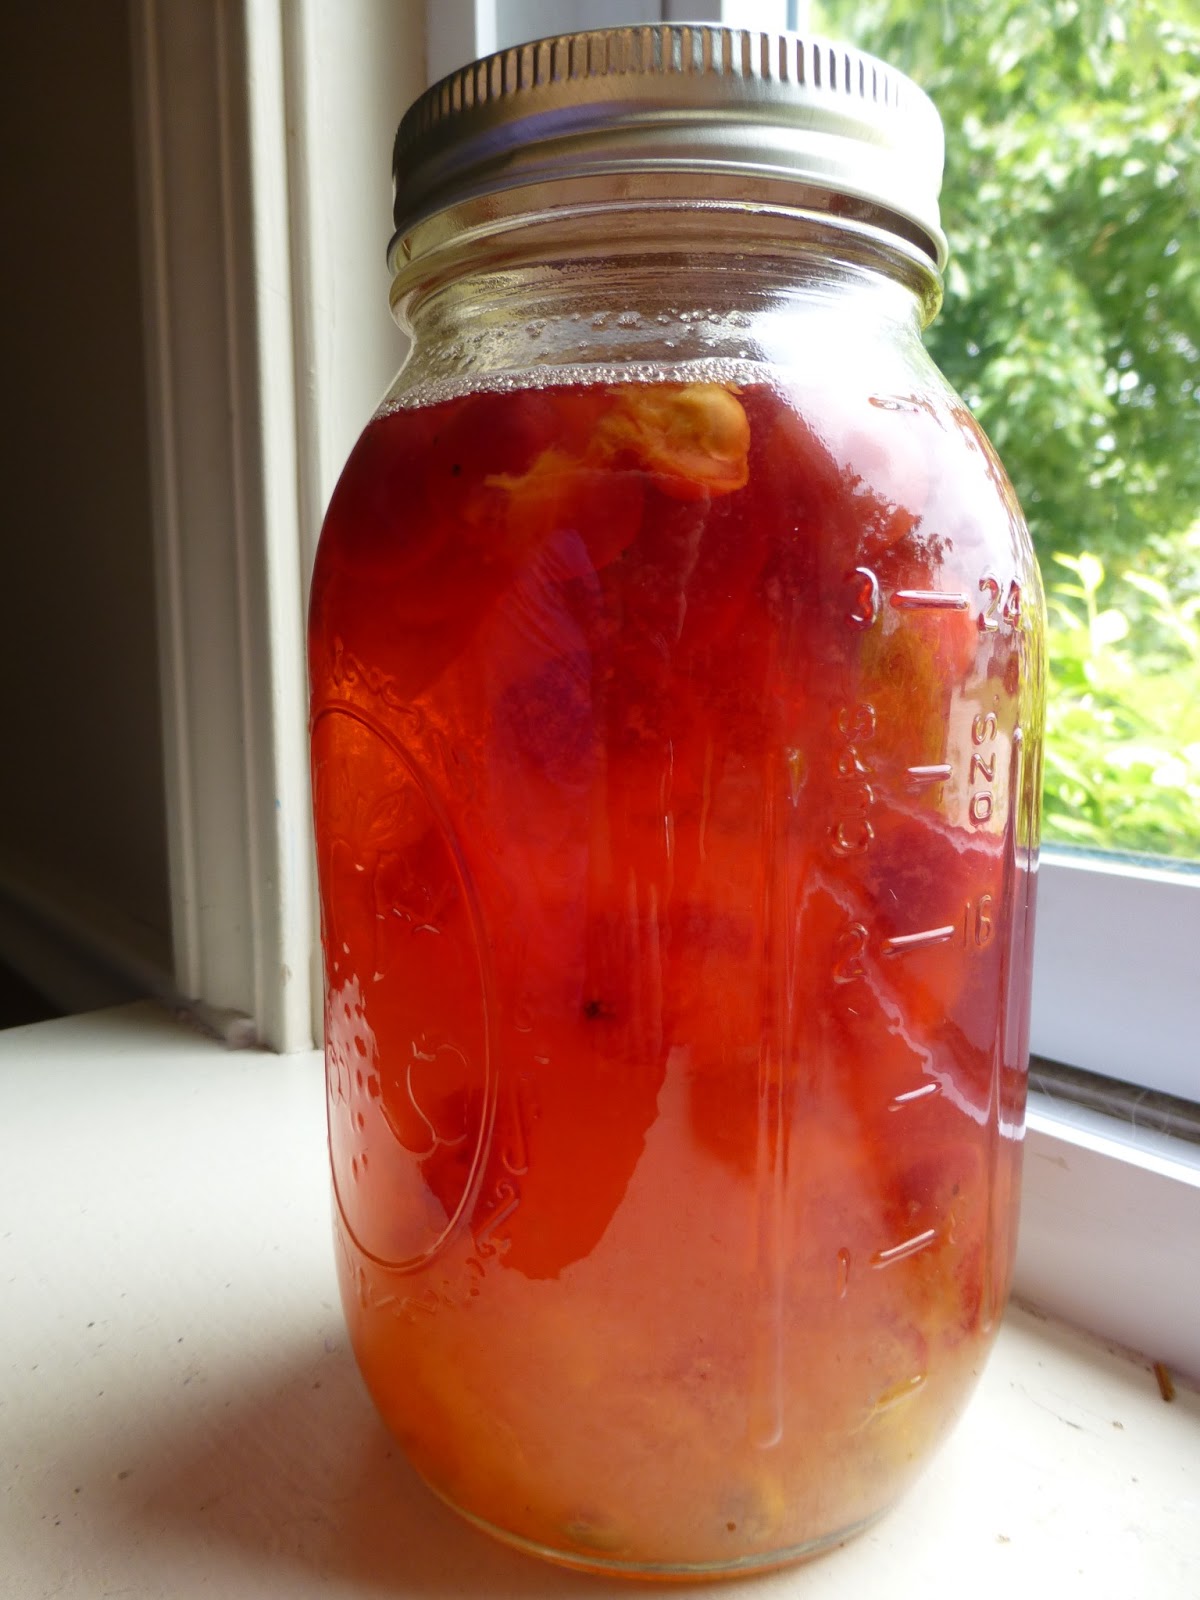
6). Juice
We had watered our leftover syrup down to make the snow cones, and it got me to thinking…hmm, this would make great juice. Sure enough, juice is easily made with sour cherries. Click here to see a method for cherry juice. Or, here’s a simple method: just put 1 1/2 c. cherries and 1 c. sugar into a qt. jar, mashing the cherries up with a spoon a little if you want (pits can stay, which is nice when you’ve pitted hundreds of cherries and just don’t feel like doing ANY more). Fill with boiling water and seal. As it cools, the jar will seal itself, and you can store it. When you are ready to enjoy some cherry juice, break into the jar and strain off the cherries. I haven’t researched this fully yet, but I am assuming if you are planning to store the your juice long-term, you’ll want to process the jars, after filling them, in a canning bath for at least 10 minutes.
For my juice seen below, I actually used different measurements due to a lack of cherries: 1 heaping cup of cherries and 3/4 c. sugar. The flavor was perfect. As I was making and drinking the juice, vague nostalgia kept poking around at my senses. I am now certain, as some dusty and sweet memories returned, that my grandma used to make juice with her sour cherries. Among the hundreds of jars lining her basement walls, jars which contained a huge variety of fruits and veggies, there were those mysterious (and somewhat yucky looking) cherry juice jars. I will have to verify this with someone in the family who remembers more clearly, but as I tasted my own cherry juice and memories flooded me I became more certain…yes, I had sipped on this wonderful beverage many, many times at Grandma’s sunny kitchen table.

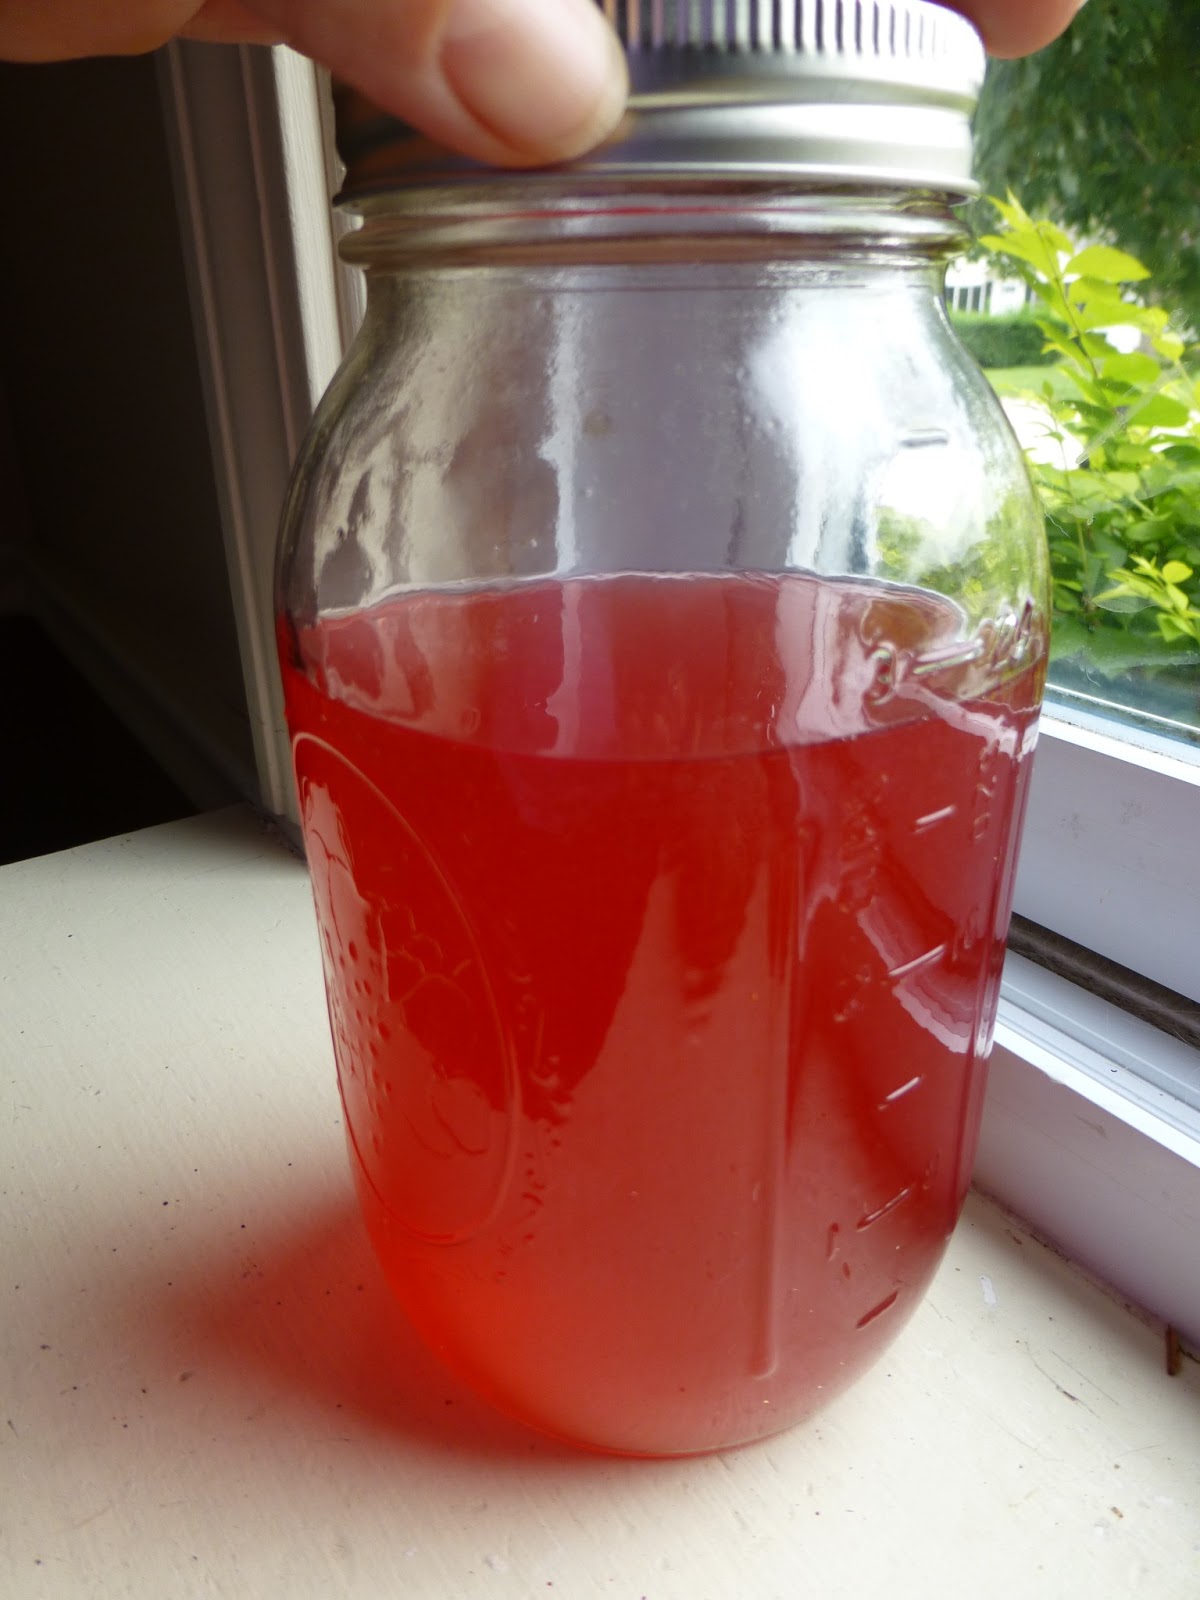 |
| Noticable volume lost. I had to drink some before getting a pic. |
There are definitely WAY more than just 6 things to do with sour cherries. To think– I never gave this tart little fruit much credit. I’m finding that a lot of people who don’t have access to sour cherries consider them a delicacy and would love to be able to experiment with them like I have. Now that this year’s cherry season seems to be coming to an end, I realize how precious it is to harvest and use/preserve the fruit while it’s there. Next year, if I’m so lucky to come upon such a bounty again, I’ll freeze whatever I don’t immediately use or preserve.
Click here to see some interesting desserts besides just pie.
Click here for more interesting recipes. If you scroll down on that link, you’ll find a ‘no recipe cherry jam’ that uses lemon juice instead of pectin. I’m going to have to try it!
Just google “sour cherries” or “tart cherries” and be ready to find a lot of great ideas. 🙂