Categories
Using your Harvest Vegetarian Recipes

3 Sisters Soup

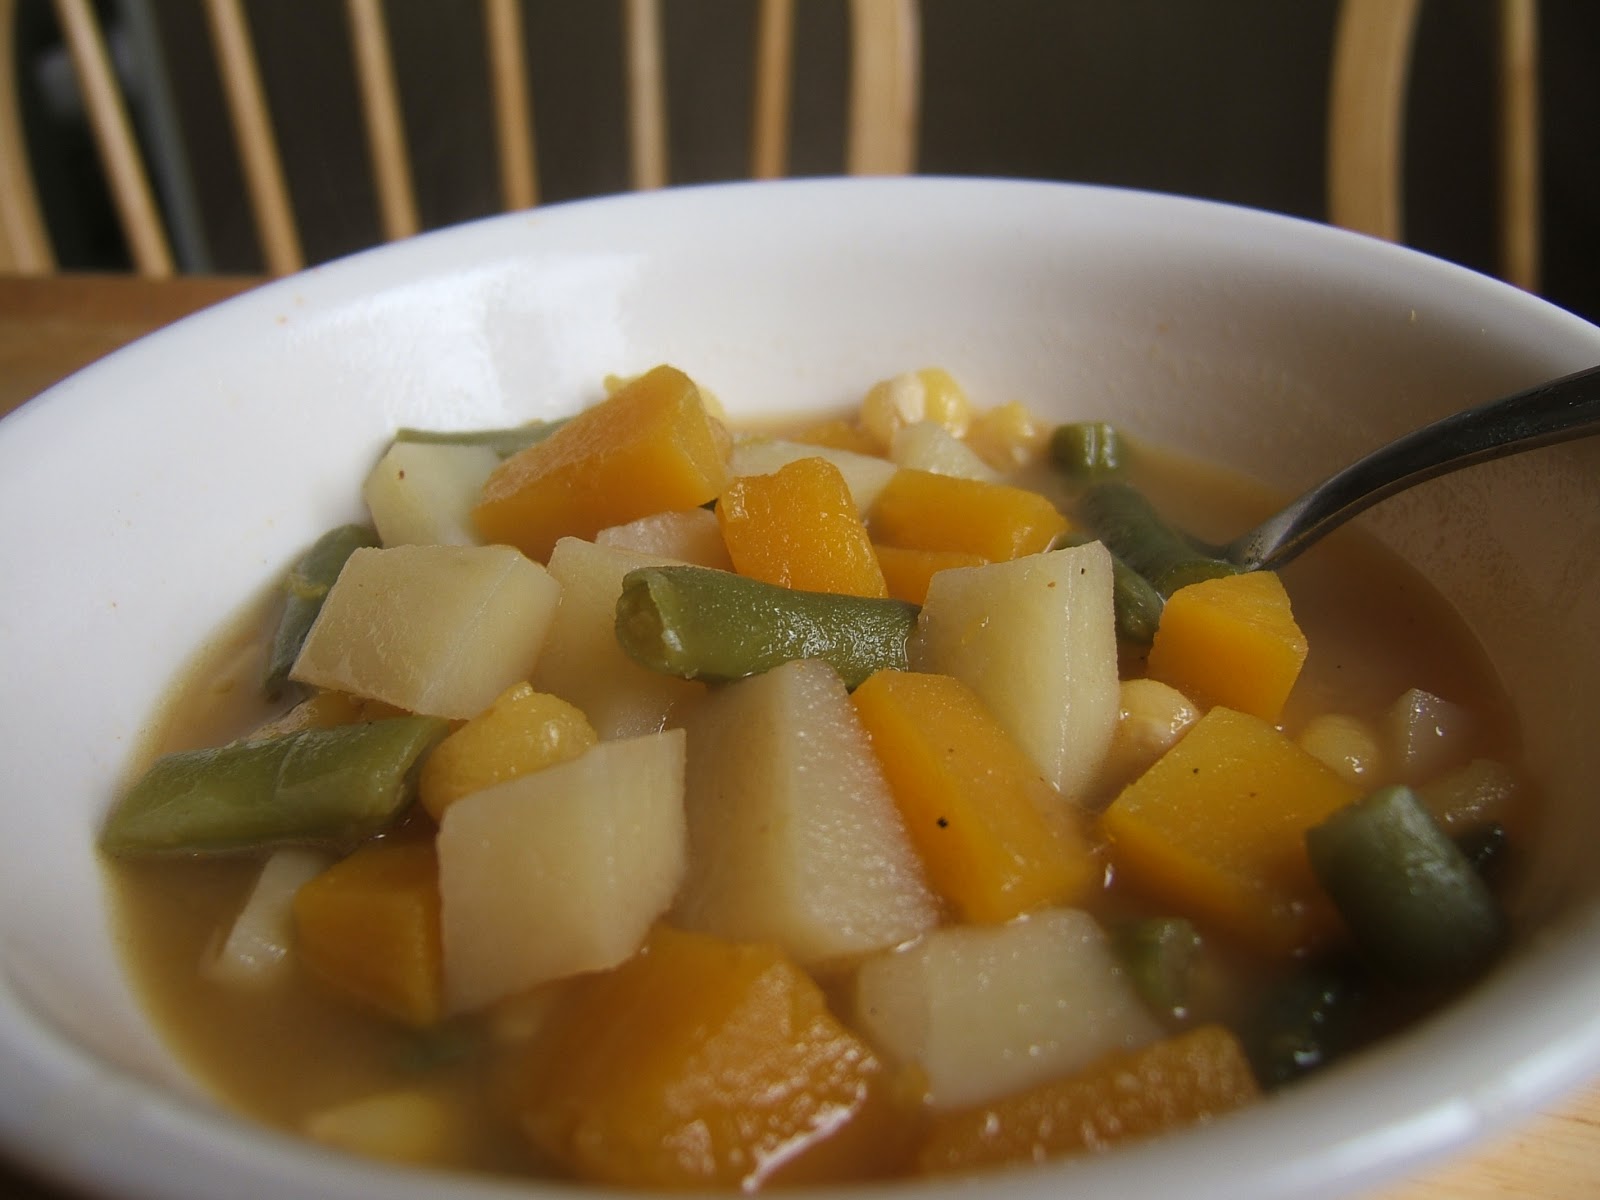
I’m paying homage to the 3 Sisters Garden with some FABULOUS soup!


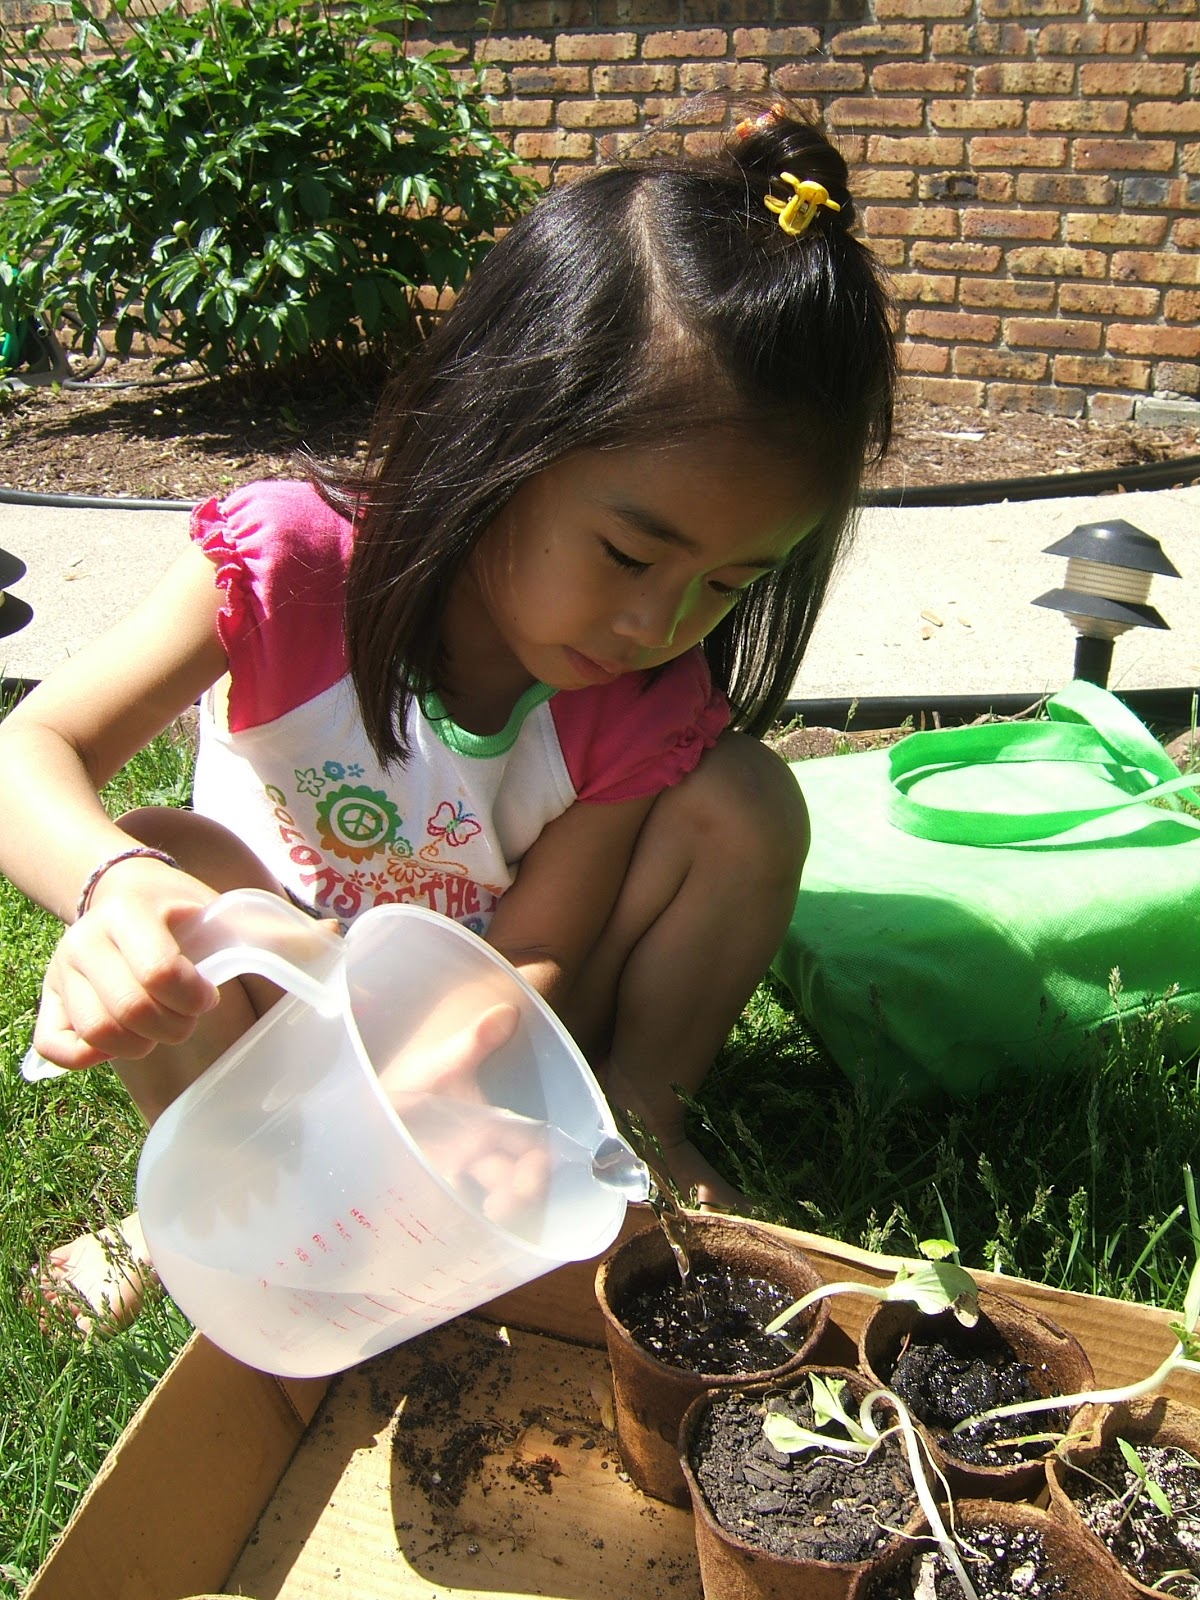
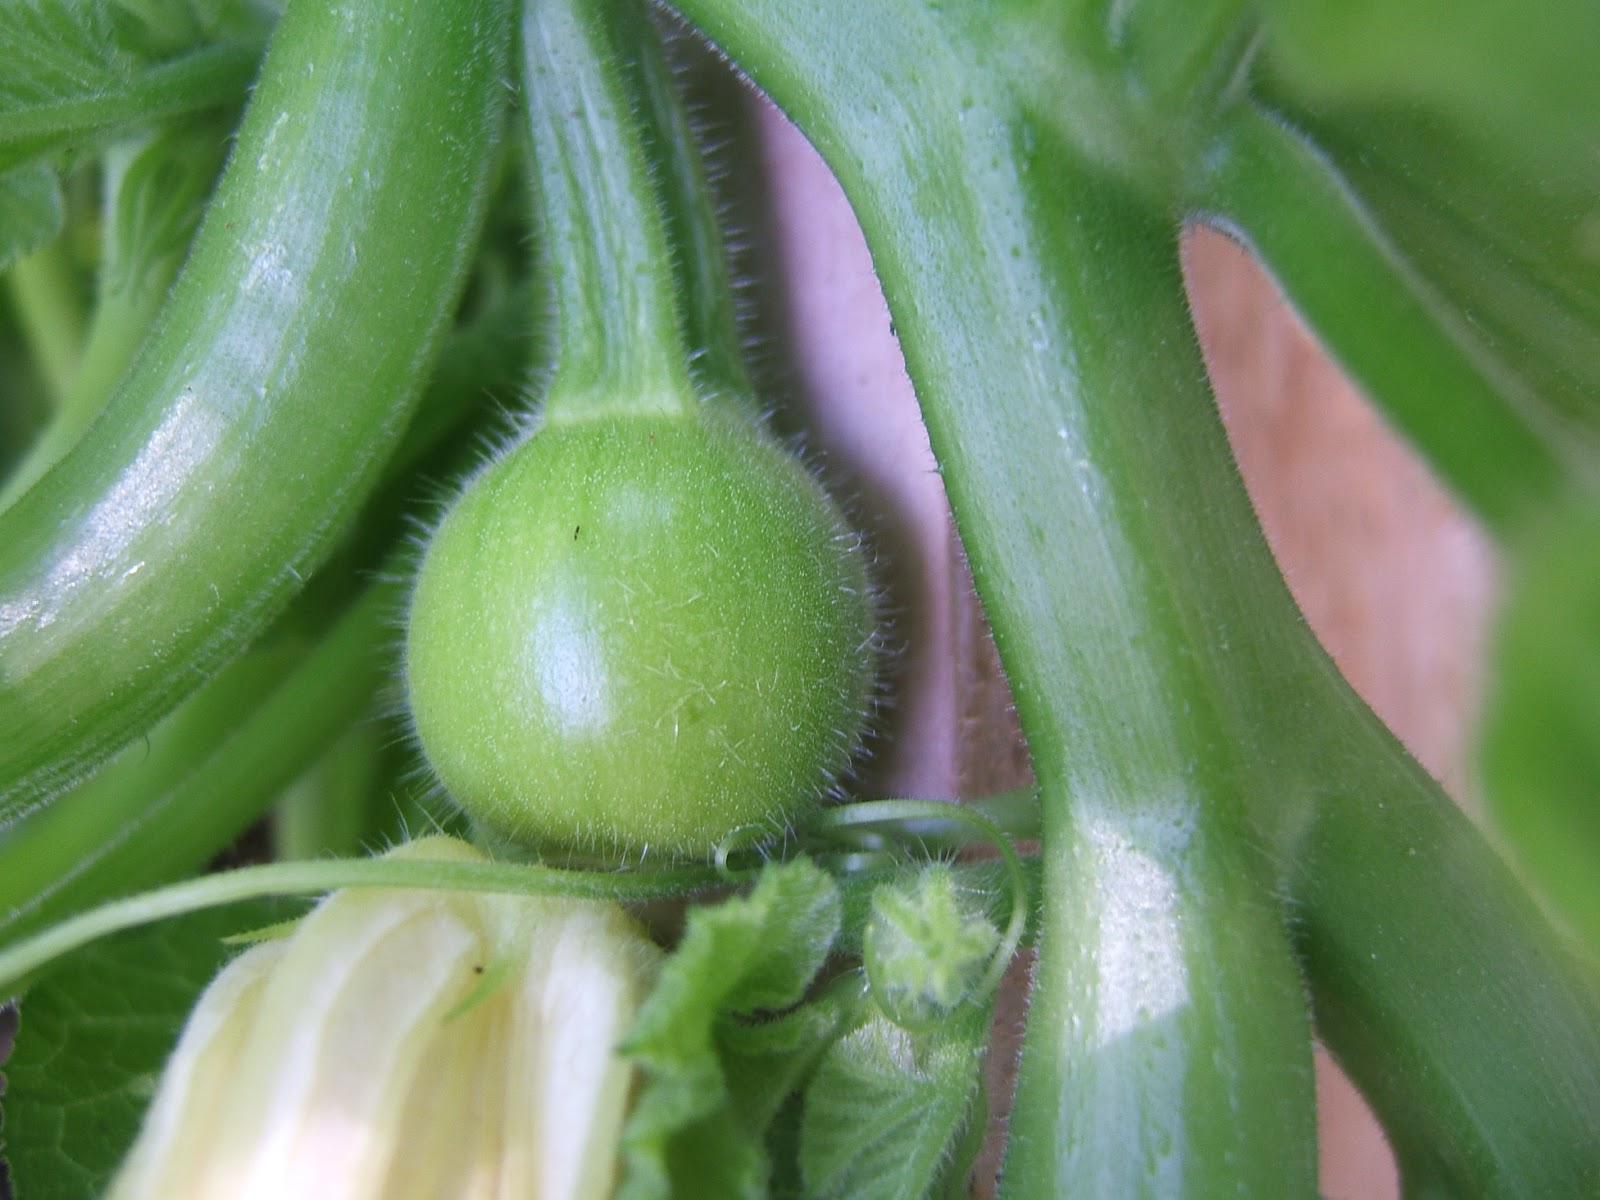
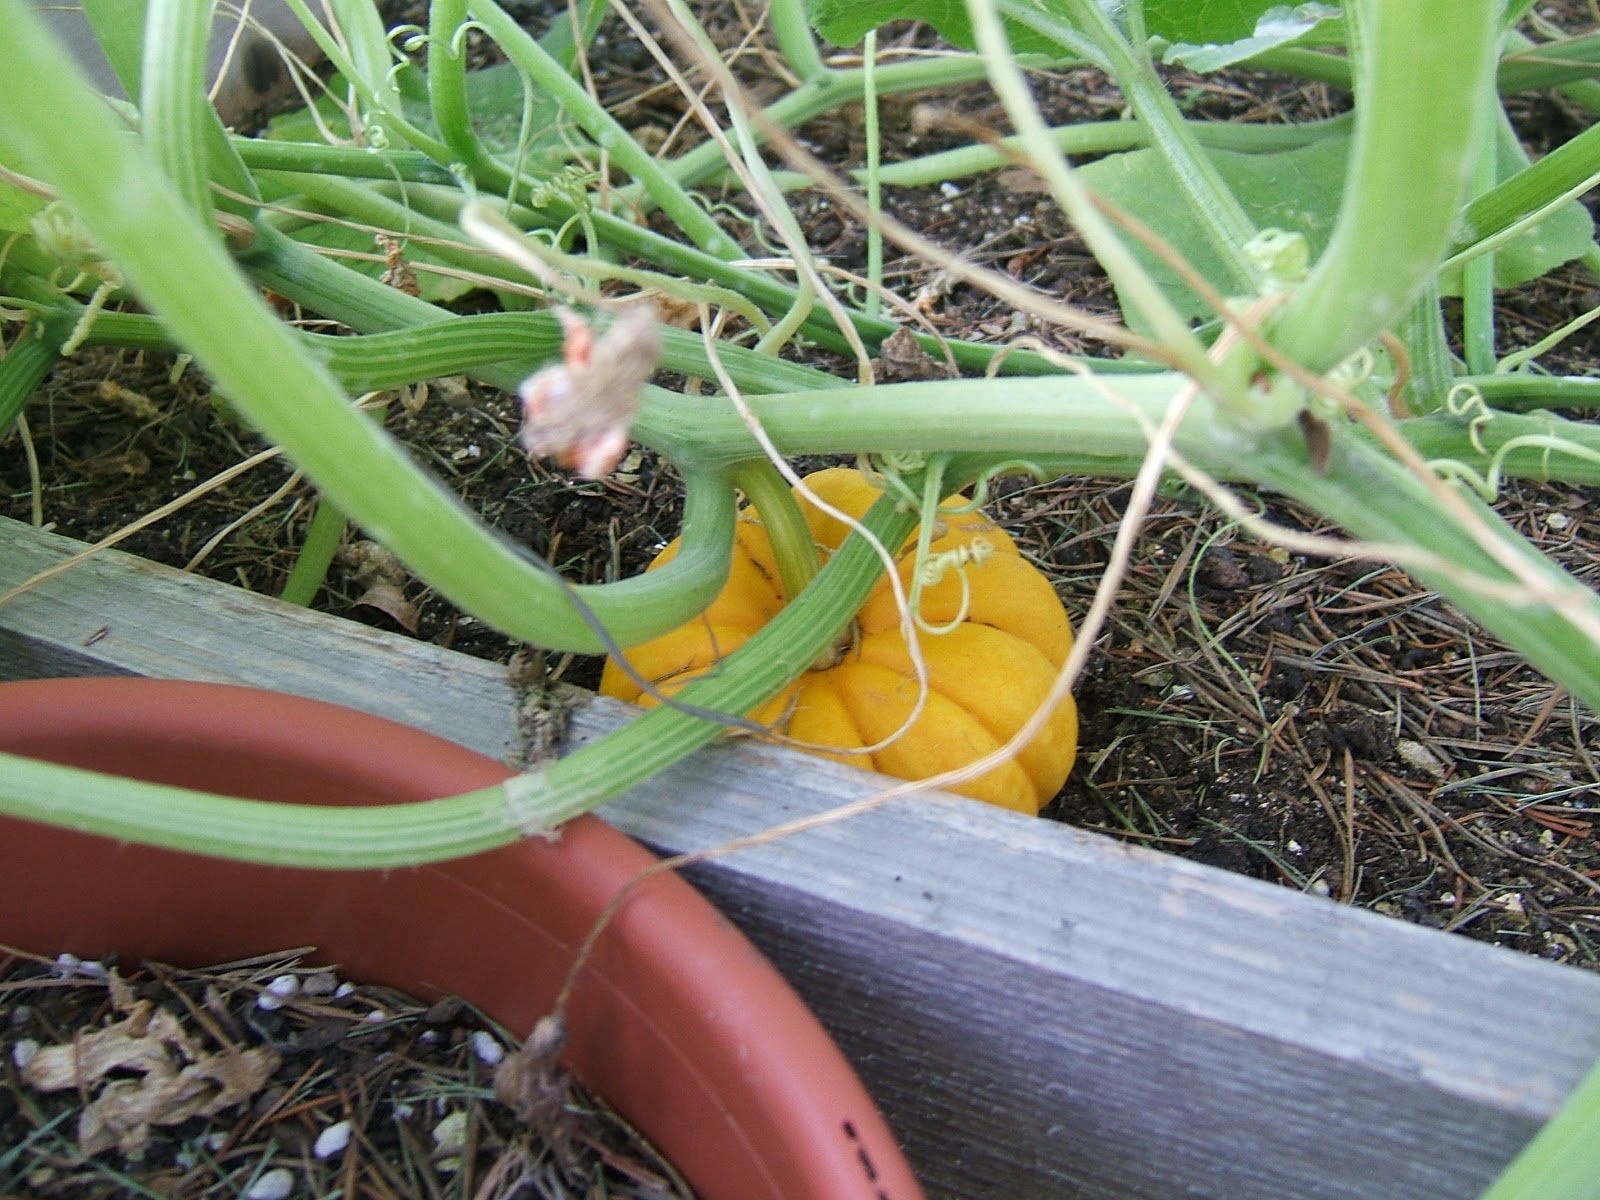
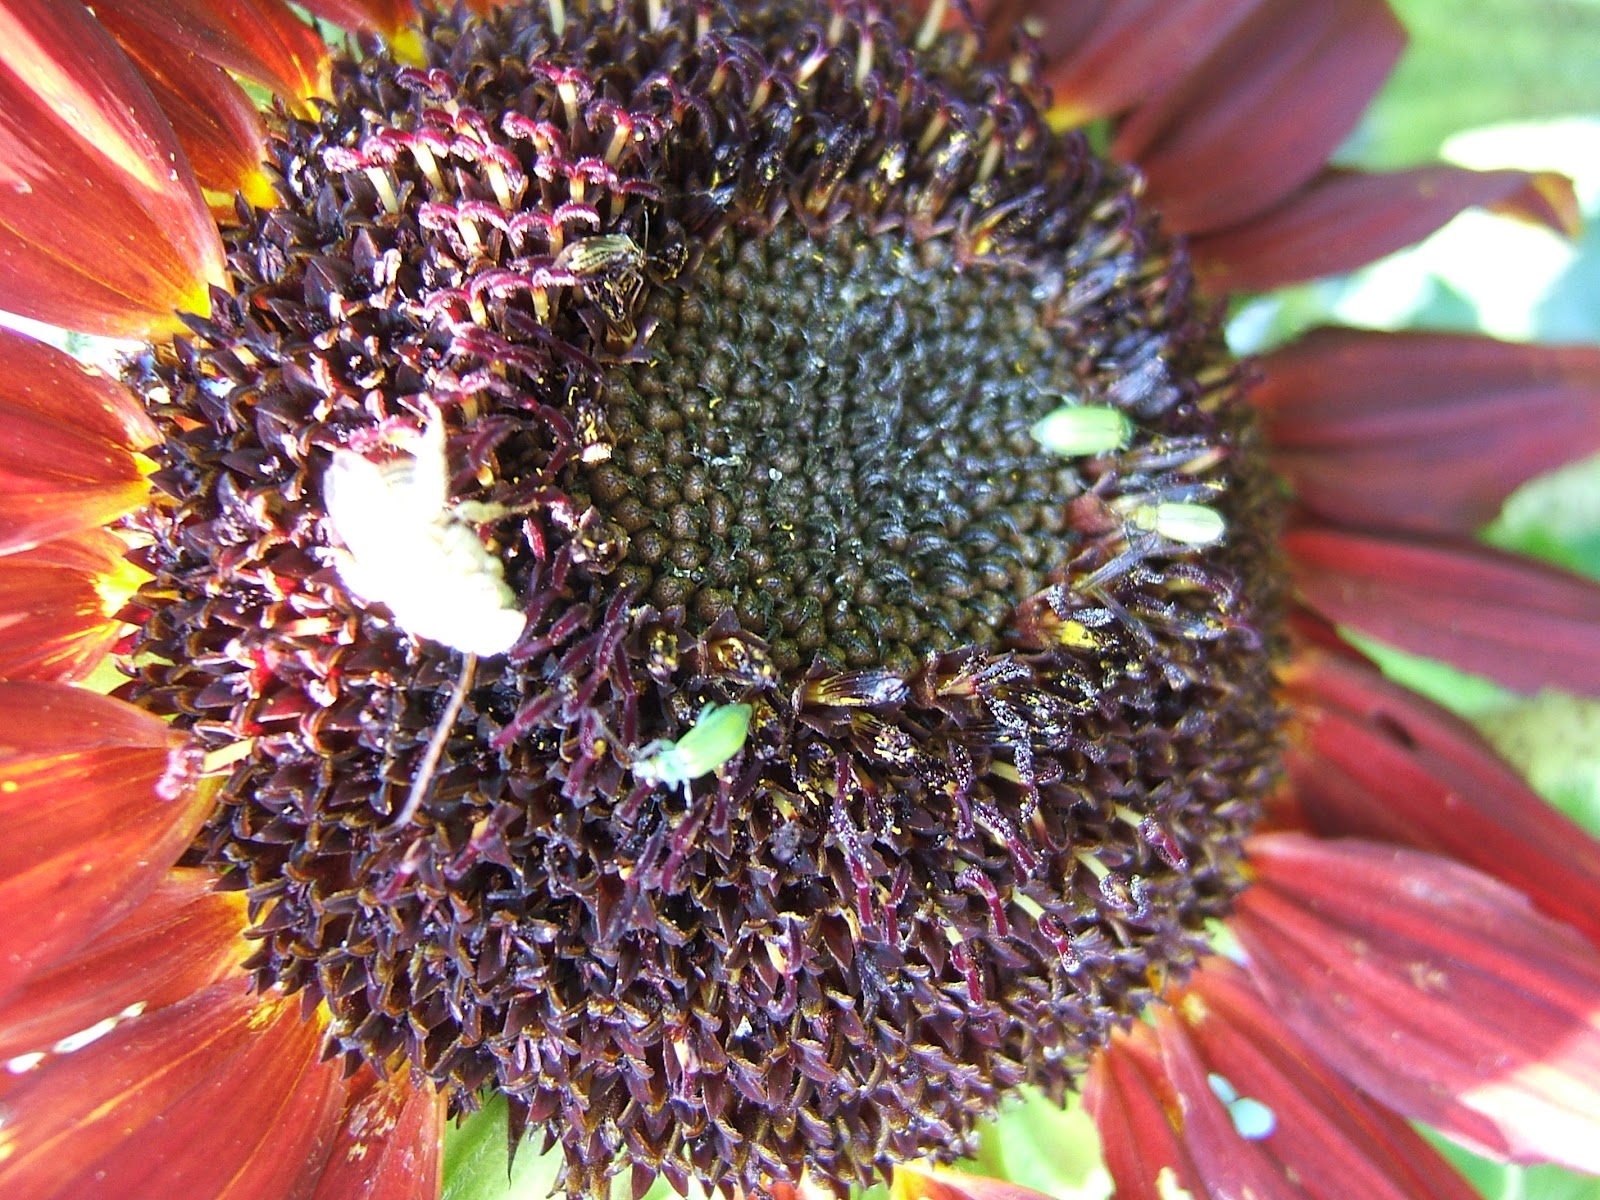
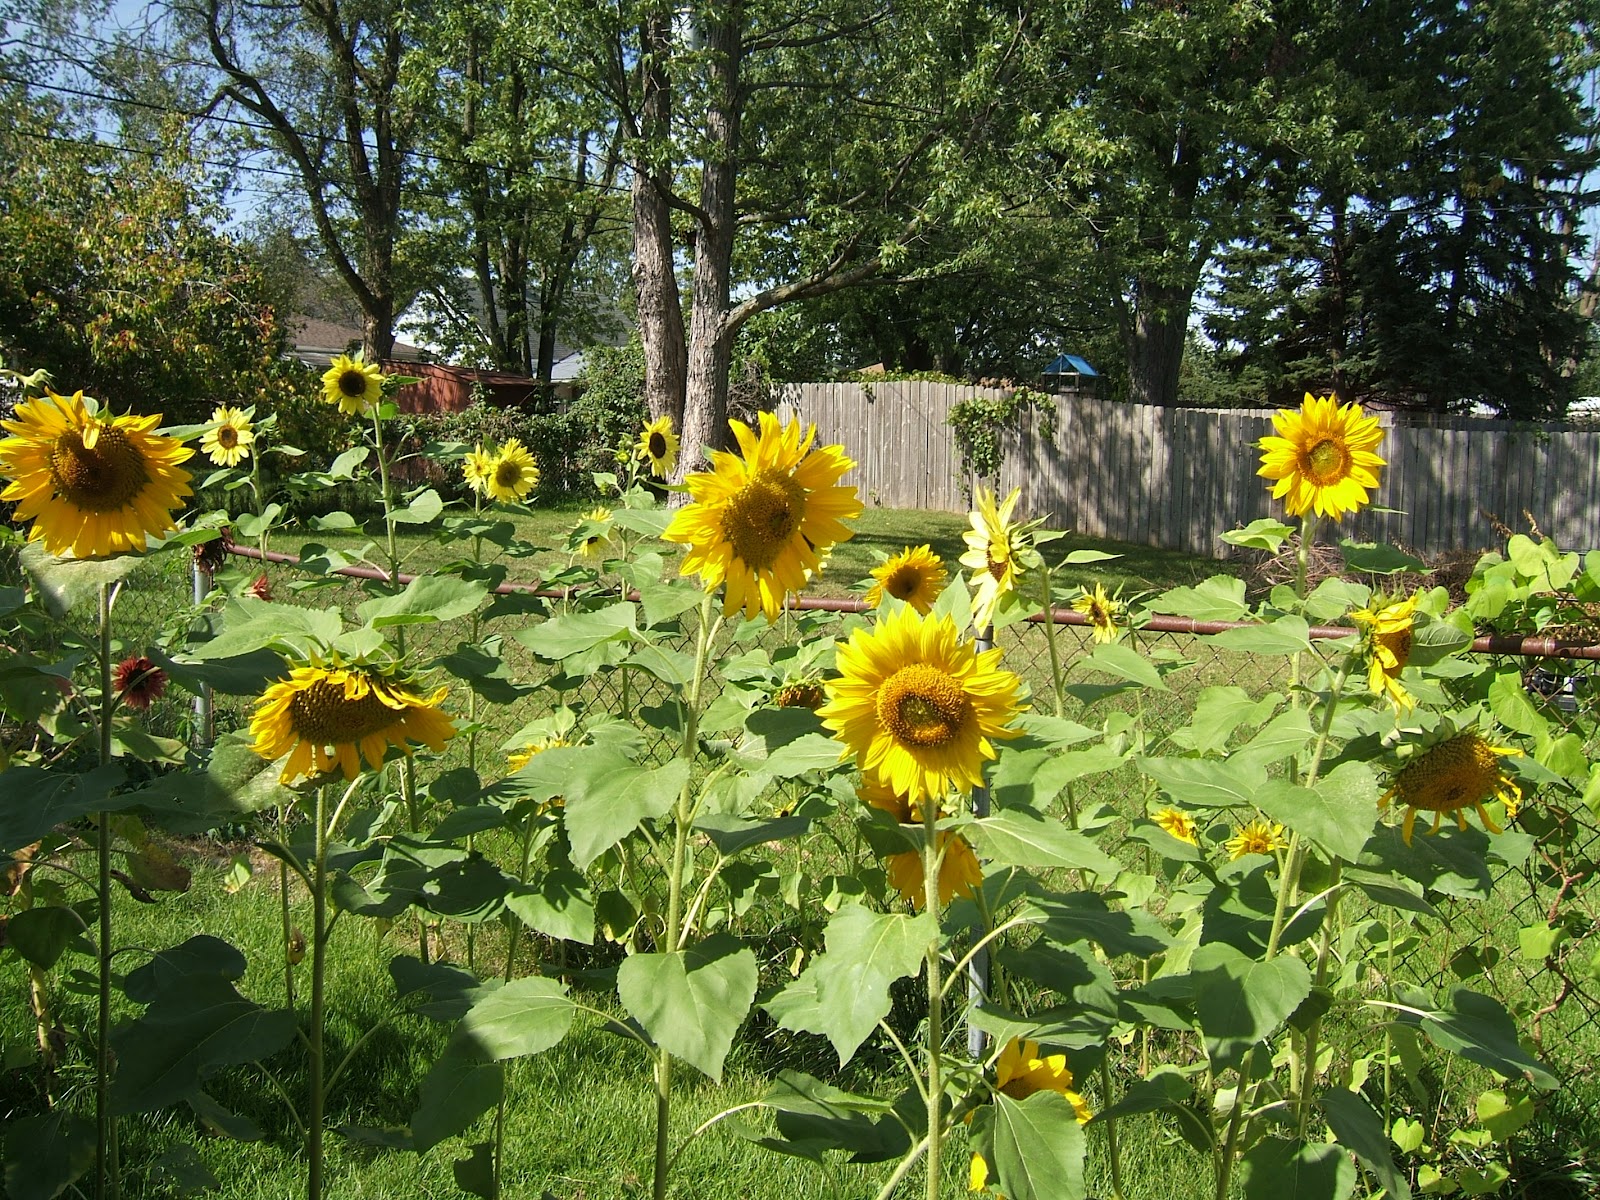
Not too long ago I posted about my visit to the beautiful homestead of FutureFarming. While I was there, I immediately recognized one of the gardens as being a ‘3 Sisters Garden‘. I found this great link that explains the legend, and includes some nice diagrams showing how you can implement a 3 sisters garden in your own space:


Please CLICK HERE! Learn about the 3 Sisters Legend!


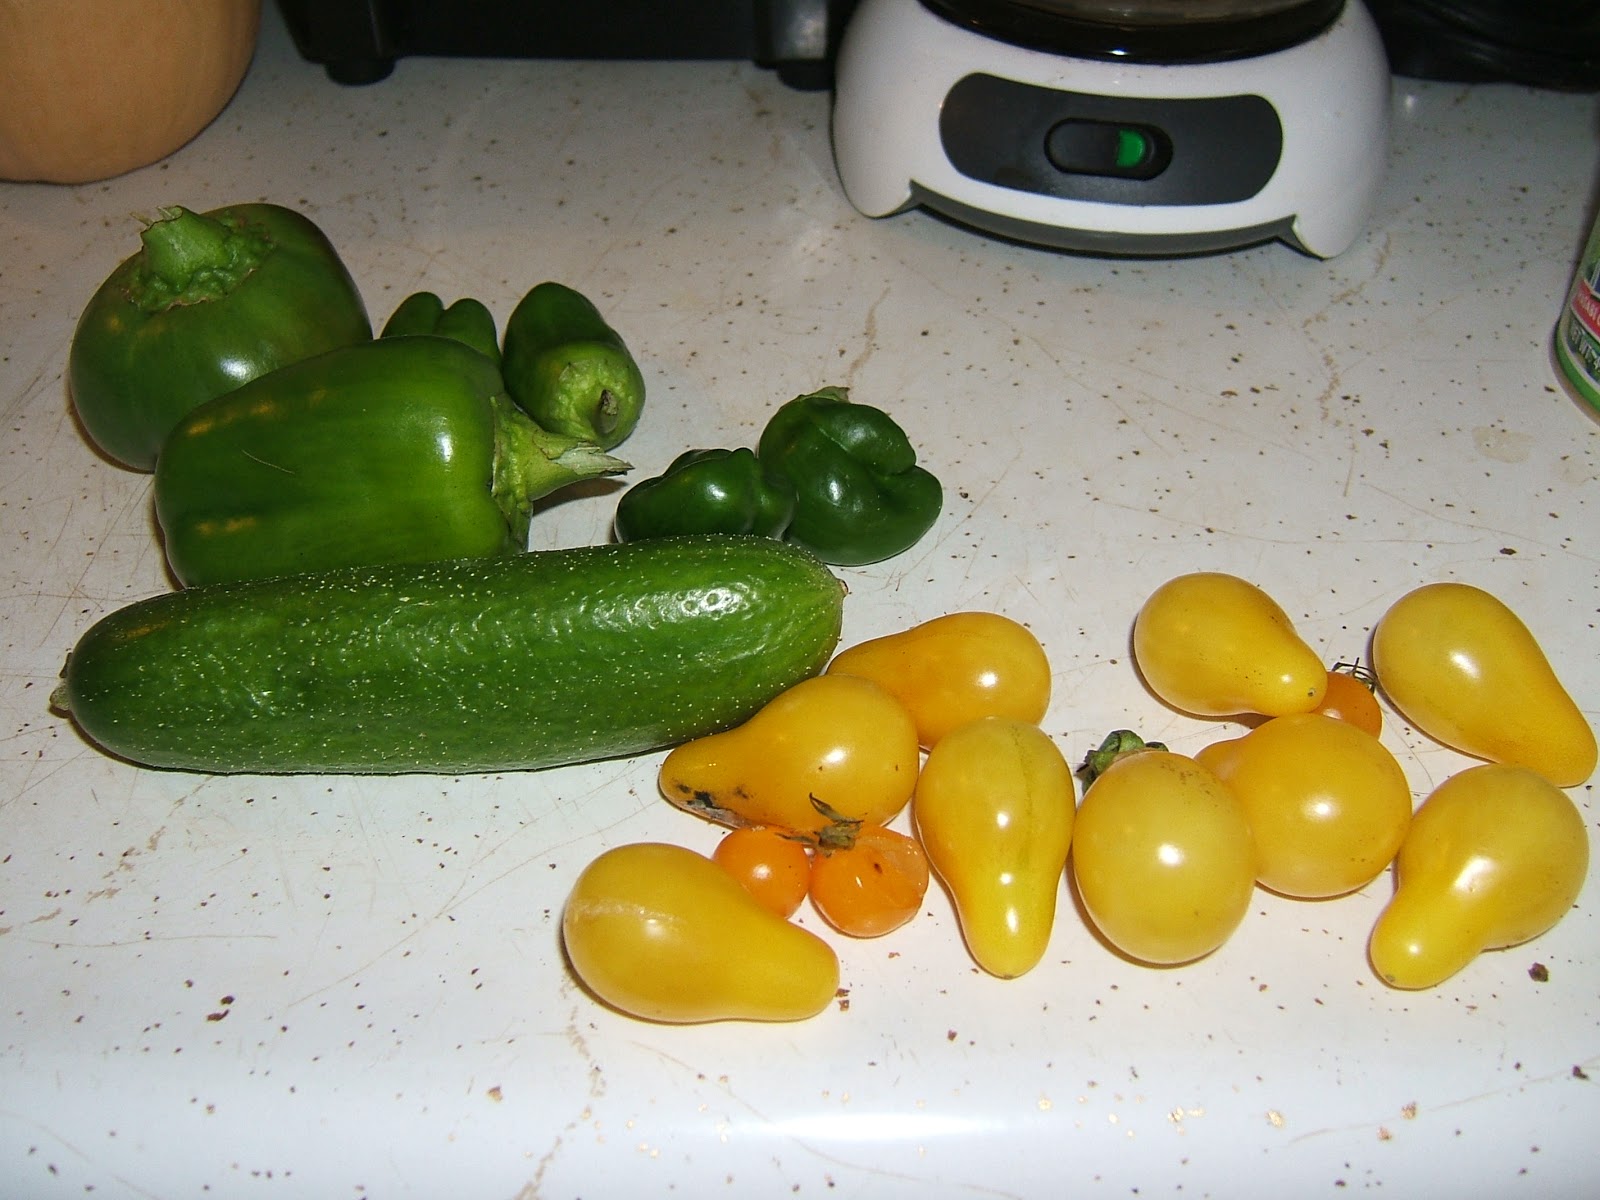
A 3 sisters garden lends itself perfectly to a pot of warm soup. This recipe is incredibly simple, yet delicious! I kept thinking that I’d have to add something to it, because it was so insanely easy, but it tasted perfect. My family could not get enough of it. I had tried a couple other versions of 3 Sisters Soup before this one; one included zucchini, white beans, and corn–another included acorn squash, corn, and pinto beans.


This particular recipe stood out from the rest to me because it has green beans and potatoes in it–two of the plants that were growing in the 3 sisters garden at the Future Farming homestead. I also like that this recipe includes hominy. Native Americans would soak corn kernels in a lye solution, creating hominy, which stored better than raw corn because it would not sprout. In addition to improved storage, hominy is also said to have an edge over plain corn nutritionally, as the soaking process converts some the vitamins into a form that is more readily accessible to our bodies. Though most of us don’t know how to make hominy, it’s currently readily available, canned, in just about any grocery store. I have found white and golden hominy in cans–I personally think the golden hominy is much more flavorful (white hominy is made from white corn, golden from yellow corn). As a side note, I think learning to make hominy would be a great sustainability project! Click here to see a very simple way to make your own hominy.


Something to keep in mind when making this simple and soul-warming 3 Sister Soup–make sure you use a good, quality vegetable broth–since there are no spices except pepper, you’ll need that good broth to carry the flavor. Of course, you can always add spices and herbs if needed, but I find that the wonderful flavor of this soup in its barest form calls for nothing extra! I have made it three times for the family (I had a monster butternut squash to use up)…and it will be a staple around here during the cold months. Enjoy!


Three Sisters Soup

(adapted from allrecipes.com)


2 c. golden hominy (can use corn instead if desired)

2 c. fresh or frozen green beans (trimmed and snapped if fresh)

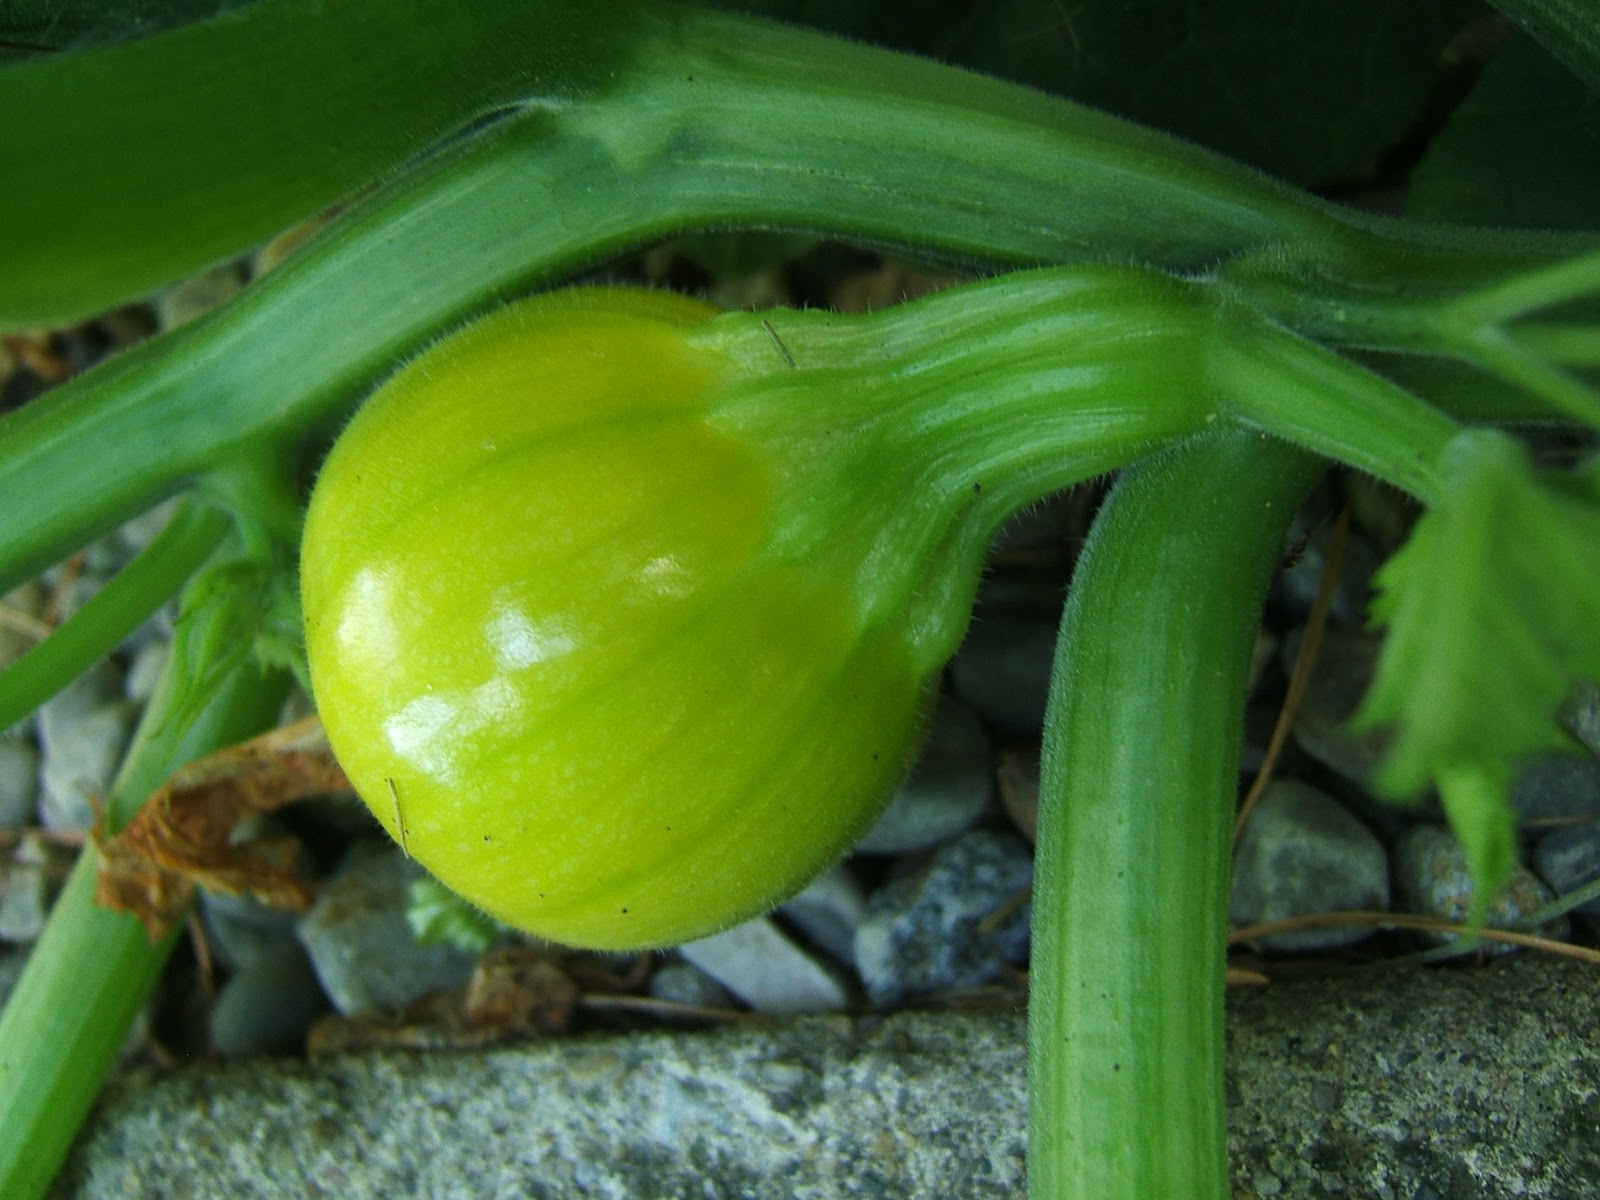
2 c. winter squash (i.e. butternut or acorn), peeled and cubed

1 1/2 c. peeled and cubed potatoes

5 c. vegetable broth

2 T. butter

2 T. flour

1/4 t. pepper


Place the hominy, green beans, squash, and potatoes into a pot, and pour in the vegetable broth. Bring to a boil, then reduce heat to low. Simmer until the vegetable are soft. Melt the butter in a bowl and blend the flour into it with a fork, then stir into the soup (I dip the bowl into the soup a few times to get all the buttery goodness out). Increase heat to medium, and cook until the soup thickens. Season with pepper and serve.


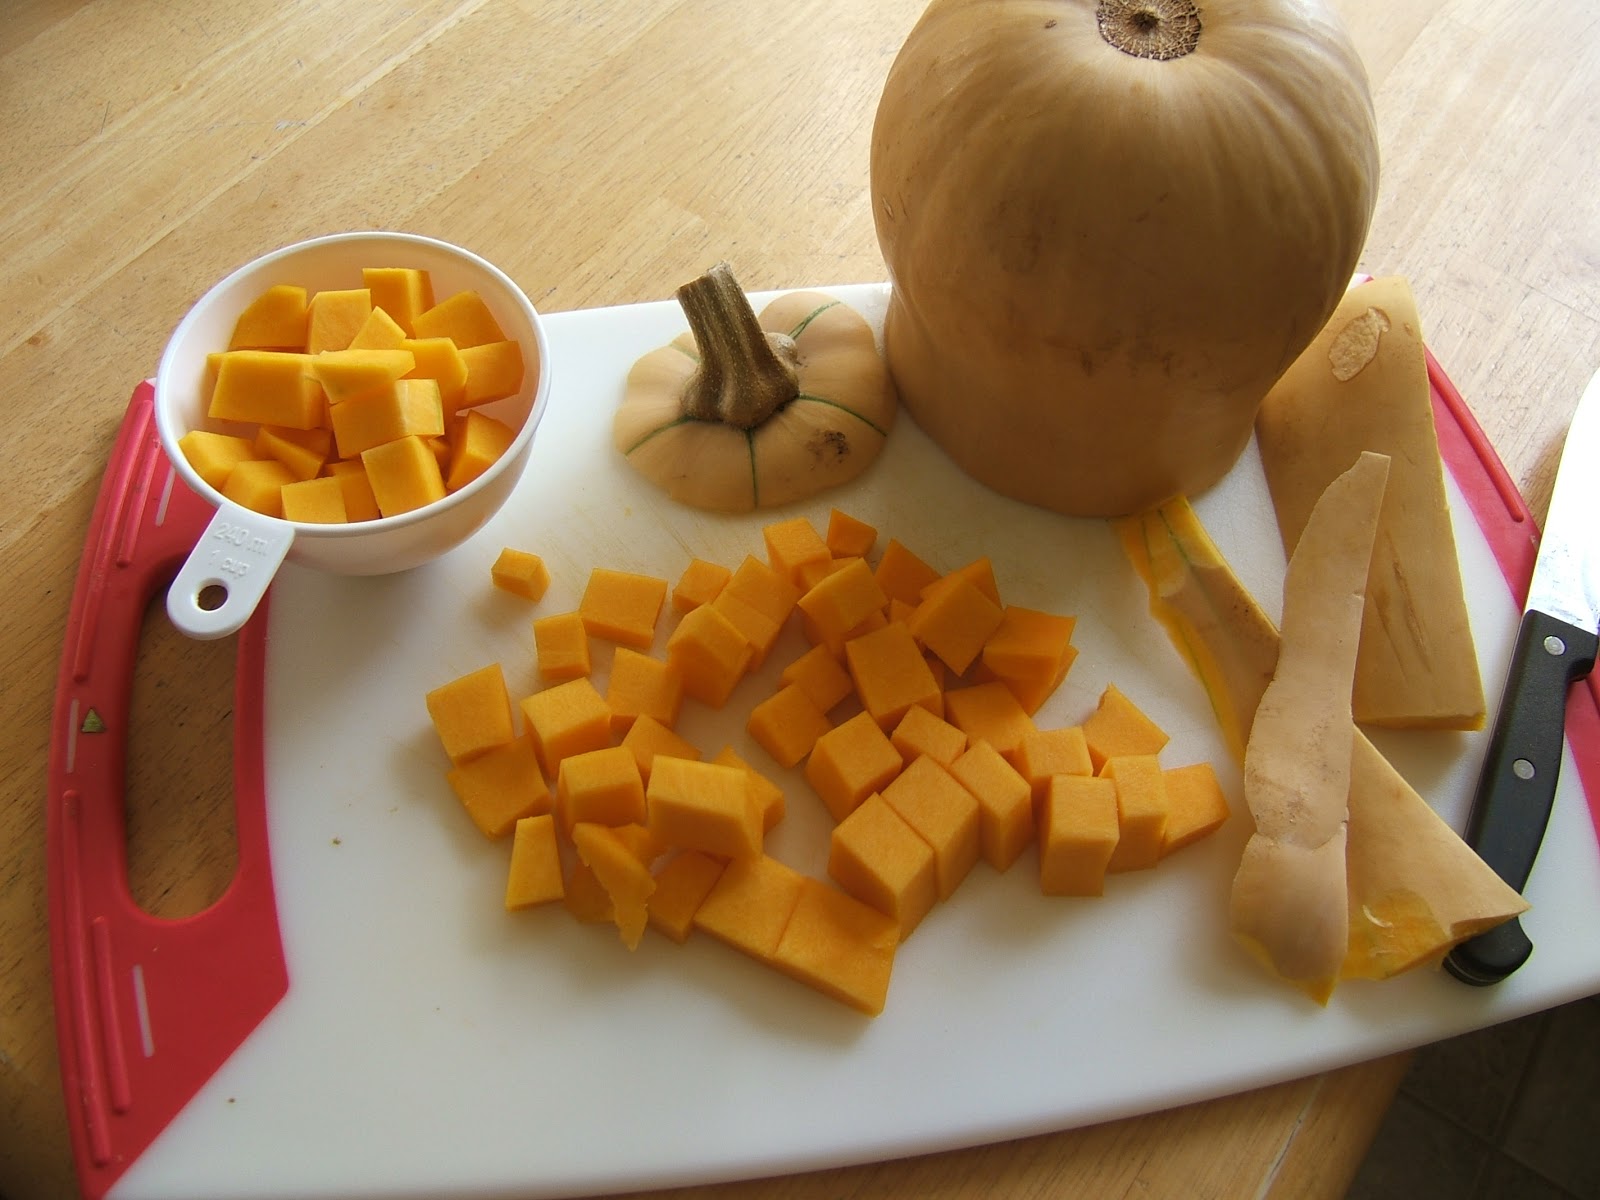
Peeling and chopping a squash can be challenging. I find it easiest to cut the squash into  small sections that are more easily peeled, then dicing up the flesh of the peeled sections.


Categories
Urban Gardening

Growing the Garden Season–Practical Model of a Suburban Garden

I read this article over a week ago when it was published in my local Sunday paper, and I keep thinking about it, for a few reasons:

1). This guy has come up with some really nice raised garden beds. I love his idea of lining the inside with insulation to keep the beds at a nice temperature–not too hot in summer, not too cold in winter. I would like to try building a couple of beds like his.
2). He has tips for extending the growing season all winter long.
3). Though it’s not stated specifically in the article, the photo of the spacing of his plants demonstrates the biointensive method of planting, which I am very interested in.
4). This is a little more abstract, but I really love the pictures in the article because it shows the gardener’s property pretty well, and it’s obvious he lives in a typical suburban neighborhood. Not a sprawling country acre, but a standard-sized suburban lot. I find this very encouraging. As we face food shortages and the probability that people will have to start growing food, it’s nice to have good models of how it can be done, in every situation and property size.

Photos by Swikar Patel | The Journal Gazette
Seed templates made from old truck tire flaps help Arthur Stahlhut make the most of the planting space at his Fort Wayne home.
Published: October 14, 2012 3:00 a.m.

Growing the garden season

Raised beds, covers help enthusiasts harvest all year

Rosa Salter Rodriguez | The Journal Gazette

Raised beds outfitted with hoop frames can be covered with agricultural cloth and function as mini-greenhouses in Stahlhut’s backyard.

Holes drilled in a diagonal pattern allow the master gardener to space plants four inches or six inches apart.
When most area gardeners are readying their vegetable beds for a long winter’s nap, long-time master gardener Art Stahlhut was out in his garden pointing out his newly sprouting lettuce.
If things go according to plan, say Stahlhut and his gardening partner, Karen Fecher, both of Fort Wayne, the garden will have the same outcome as last year.
“I had the most beautiful fresh lettuce mix for my Thanksgiving table,” Fecher says.
Stahlhut believes in extending the season for vegetable growing – which usually means he harvests something in virtually every month of the year except January.
This year he’ll have tomatoes on the vine well into October and lettuce, spinach, onions and carrots well into November. Last year, with the mild temperatures, he pulled plump red radishes and harvested romaine lettuce the first week in December.
Stahlhut says he doesn’t fight Mother Nature – he just plays to her gentler side so plants get what they need, whatever the calendar says.
His secret, he says, is growing veggies in eight raised beds, which he designed and built himself, and covering them when appropriate with hoop frames to create mini-greenhouses.
He’s refined his techniques over the years, with his most recent beds consisting of a frame made with sturdy two-by-fours to stand about 20 inches tall. There’s no real reason for the exact height, he says, “except I have bad knees.” Twenty inches gives enough room for root development while alleviating the need to have to kneel to cultivate, weed or harvest, he says.
The bottom of each bed is lined with wire mesh with landscape fabric on top of it, “to keep critters out,” Stahlhut says. The sides are filled in with 16-inch-square patio tiles two inches thick.
The sides are then lined with thin foam insulation sheets and then even thinner sheets of metal flashing to keep in warmth. The metal also makes tilling with a small roto-tiller possible without tearing up the insulation, he says.
Beginning in early fall, he adds to some of the beds what gardeners call “hoops” – curved arches made of metal wire or conduit pipe that are covered with translucent agricultural cloth.
Stahlhut, who helped create raised beds for vegetables at the demonstration garden outside the office of the Purdue Extension Service at IPFW, says the raised beds allow him to control the soil composition and temperature.
He uses layers of grass clippings and shredded paper and horse manure for the bottom half, and swears by a mixture of one-third peat, one-third compost and one-third sphagnum for the top. He calls it the “lasagna method” because of the layers.
“Art makes the most wonderful soil mix,” Fecher says. “It’s fluffy and light, and you don’t have to deal with the (northeast Indiana) clay.”
He makes his own compost in one of the raised beds. “We don’t use synthetic fertilizer,” he says, adding that he doesn’t pull out tomato plants at the end of the season, only cuts them down to encourage worm action in the soil.
Another of Stahlhut’s secrets is intensive planting. To get more out of his small spaces, he has made seed templates from, believe it or not, old truck tire flaps into which he’s drilled two sizes of holes for even seed placement. He also occasionally intercrops.
“The rule of thumb is you can feed a family of four from a garden the size of a two-car garage. Well, we only use half that size, but we use every square inch of it,” he says.
As for tools, Stahlhut says a thermometer that reads both high and low temperatures is essential, especially at each end of the growing season.
So is keeping a close eye on the coverings, because the soil can quickly get too warm even in cool weather and “fry the plants,” he says. They’re held to the hoops with giant clothespins, so they’re easily removable.
Fecher says covering crops keep them warmer in the spring and fall and shades them in the summer. She says they saved a lot of lettuce from bolting when the weather turned quickly hot this year. Last week, after temperatures dipped to freezing, the cover raised the ambient temperature to 65 degrees with a couple of hours of sunlight.
Stahlhut doesn’t use plastic to cover his plants but does use a conventional cold frame with plastic sides and top.
The pair has been selling lettuce and other veggies at the Historic Main Street and South Side Farmers Market.
“We want to get more into production. Right now we can’t grow it fast enough. We’d sell out every time,” Fecher says.
Stahlhut says he travels to regional gardening meetings and festivals, reads a lot and watches gardening videos to get ideas and learn new approaches. Two favorites videos are “Develop a Sustainable Vegetable Garden Plan” by Homeplace Earth and “Growing Greens for Love and Money” by Susan Moser.
But mostly he likes to experiment – whether it’s growing different varieties of garlic or planting peanuts in a bed under the lamp post in his front yard.
“It’s always a work in progress,” he says.

rsalter@jg.net

Categories
Urban Gardening

It's Pumpkin Time!

If you caught my blog post from just about a year ago, you might remember that we had a pumpkin patch. It  grew from the seeds of a jack-o-lantern, and we ended up with only two pumpkins (I cheated and staged some more pumpkins from the grocery store so that every child could take one home–they never knew!).


Well, this year was a wild success in comparison!


First of all, I have to tell you where the pumpkin seeds came from. Early in the spring, I got a beautiful surprise from one of my former daycare kids, Maggie. Maggie was one of the biggest enthusiasts of the Little Hands Garden as it started to take root. She had a garden at home, and was part of the Garden Club at her preschool, so she had all kinds of tips. I enjoyed her curiosity, her excitement, her quiet observation of the tiny miracles that took place with our projects. Here she is, working with our seedlings last year:

I make a lot of special memories with all the kids in my care. However, the nature of my job as a daycare teacher requires that I say goodbye when the early years pass. I often watch a child from babyhood, through toddlerhood, and then preschool age–and those years are absolutely precious to me. I’ve been lucky that most of my daycare children stay for the ‘long haul’ through all those years…turnover is low. I treasure the time spent with all my little ones, watching them change and grow. It was time for sweet Maggie to enter Kindergarten, and her days spent here would now be spent at school. I’ve been through the goodbyes many times before in the 9 years I’ve been doing this job, and it never gets any easier! Luckily, Maggie’s mom has made the transition so wonderful for us all by bringing her for visits when she has days off school. Her daycare friends and I LOVE her visits! After one such visit, Maggie and her mom decided to bring me a gift. I was so completely touched by the surprise. It was a beautiful collection of seeds, handmade seed markers, seed starter mix, a mini-greenhouse, and adorable little planting pots.

Needless to say, I was speechless at the thoughtfulness of this gift. Of the various wonderful seeds Maggie brought for me and our garden, a packet of pumpkin seeds immediately caught my eye. I knew we were going to have a great little pumpkin patch using them.


We planted the seeds the the late spring (only 6 seeds total–2 small hills got 3 seeds), and watched the pumpkins develop from tiny green bulbs to perfect little orange cuties, just like we did last summer. It is an excitement that never gets old.


This year I definitely did not have to cheat and add in a few store bought pumpkins; our tiny humble patch produced THIRTEEN perfect tiny pumpkins!


The best part about the pumpkin patch is that harvest time occurs when the rest of the summer crops in the garden are gone. It brings us back to the now brown-and-scraggly garden so that we can see the results of the summer’s pumpkin babies. It keeps the garden in our minds–and for me, it gets me thinking of what fall crops we can put in, because I just don’t want the growing to end!


There is just something magical about kids and pumpkins: they adore them, and get more excited to harvest them than any of our other crops. Here we are on our journey our little pumpkin patch this week. We are officially ready for fall!


Originally Posted At Little*Big*Harvest


Categories
Vegetarian Recipes

Vegetarian Stuffed Peppers

A group of stragglers lay in the crisper of the fridge: those last minute green peppers that kept calling out to be used in something, anything. I know many of you out there also have that final group of peppers, right at this moment, calling out to you. Are you going to slice them up and freeze them? Put them on a pizza, in some chili, or in a batch of spaghetti sauce? There are so many great things to be done with green peppers, but one of my personal favorites has to be…STUFFED!

I’ve made many a stuffed pepper in my life, and there are a ton of delicious stuffed pepper recipes out there. I like this one because it’s so very simple. I usually have all these ingredients on hand. The recipe makes a lot of stuffing, more than I needed for the peppers, but that’s ok. I ate the stuffing on its own for a couple of lunches; it’s a tasty meal on its own. Enjoy!

Vegetarian Stuffed Peppers

4-6 medium peppers

2 T. olive oil

1 c. brown rice (I used 3/4 c. brown rice, 1/4 c. pearl barley)

2 c. vegetable broth

1 small red onion

1 clove garlic

7 oz canned chopped tomatoes

pinch each of dried thyme, parsley and rosemary

1/2 c. peas (can thaw from frozen)

salt and pepper


1. First cook the rice in the vegetable broth and 1/2 c. of water. Either cook in a pot using instructions on rice package or use a rice cooker. Assemble all your other recipe ingredients while the rice cooks. Brown rice can take a bit to cook. So find a good book and put up your feet. 🙂


2. Turn oven on to 400 degrees F. Wash and dry peppers, put them on a baking sheet and brush lightly with olive oil (I misted them with olive oil using a mister, click here to see). Bake peppers for 12 minutes.


3. Let peppers cool on the pan enough so that you can slice them in half, remove stems and seeds. Lay them, open side up, on the baking sheet.


4. Peel and dice the onion. Pour 1 T. olive oil in pan, bring it to medium heat, and throw the diced onions in. After 3 or 4 minutes, mince the garlic and add it to the onion. Cook for another minute, then add the tomatoes, herbs and a little salt and pepper. Let the mixture bubble and simmer on med/low heat for about 5 minutes. Add the rice and peas to this mixture, then spoon into the halves of pepper.


5. Put the stuffed peppers into the preheated oven for 10 minutes. For extra flavor, sprinkle shredded cheese of your choice on top of each pepper after the 10 minutes are up, switch the oven to broil, and broil for 3-4 minutes or until cheese is beautiful and bubbly.


Categories
Urban Gardening

Carbon Sources for Compost

I thought this was a nice chart showing some easily obtained ‘brown’ (carbon) material for your compost pile. I always seem to have plenty of ‘green’ materials (vegetable scraps, mostly), and I’m trying to focus on adding more carbon to make our compost as balanced as it can be. Though this chart is certainly not exhaustive, it’s a nice start!

Categories
Green Energy Solar Uncategorized

Solar Flower

I’ve become very interested in projects that normal, everyday people can do that will harness the free power of the sun. This ‘solar flower’ is intriguing, and it can be built very cheaply, or even for no cost if you visit a scrap heap and rummage through your own ‘junk’. What is it used for? “Basically, generating heat. With that heat you can then run external applications such as generating electricity, smokeless cooking, heating and purifying water, making charcoal, anything that heat can be used for.”

Visit www.solarflower.org for more information.


[youtube]http://youtu.be/WrMltEp-dcw[/youtube]
What is it?

A solar energy collector you can make easily using scrap materials.

What’s it for?

Basically, generating heat. With that heat you can then run external applications such as generating electricity, smokeless cooking, heating and purifying water, making charcoal, anything that heat can be used for.

How much does it cost?

Depends. All the materials are things you can find in a corner store or scrap heap, so it could potentially cost anywhere between nothing and, let’s say about €$£50 per device.

How much power does it produce, and how efficient is it?

One square meter of full sunlight is about one thousand Watts of power, which is the collector size for which the SolarFlower is designed (although it can probably drive something twice as large). Depending on the materials used, you can assume at least 50% thermal efficiency overall (probably higher), so that would give you 500 Watts in full sunlight. This is enough to heat 50 litres of water to 100 C in a little over 8.5 hours.

What principle do you use to track the sun non-electrically?

It’s a little complicated to express in text, I’m working on some animations at the moment which will make it clearer.

Basically there are two collector mirrors, one big one that concentrates all the energy you’re going to use to power your applications, and a smaller one attached to it which drives the tracker. When the main collector is pointing directly at the sun the focus point of the secondary collector is sitting just off the edge of a little boiler filled with a small amount of ethanol. As the sun moves off by about a degree that hot spot shifts onto the boiler, which in a minute or two starts the ethanol boiling, the vapor exits into a chamber (metal tin) attached to the boiler, and forces out some of the liquid ethanol in it. That liquid goes through a pipe and pours into the waterwheel assembly, turning it, which turns the gearing, which turns the two collectors into the sun, the hot spot shifts off the boiler, the boiling stops, the vapor in the tin starts to collapse and the resulting vacuum sucks ethanol from a reservoir below the waterwheel and refills the whole system.
It all sits there until the sun moves off again.
The small collector has about a two hour range, so if the sun goes behind a cloud or something the system can catch up to it.

What license / patent / protection is on the design?

None. This is an open source hardware project, and as such is not owned, or able to be owned by any one person or company.
Since the designs have now been published they are unable to be patented by anyone, including the original designer.
At some point the project may take on a Creative Commons or similar license, but it will be one which allows any form of use, including commercial. (In fact you are encouraged to make and sell these things, royalty free).
The only thing you are not permitted to do is stop anyone else making and using them in any way.


Categories
Uncategorized

Would You Like To Live in a Mushroom?

This is a very cool idea!

Fast Fungi Bricks: Mushroom Blocks Better than Concrete?!

Most people pay attention to the part of the mushroom we see (and sometimes even eat) that grows above the ground – but what about the latticework of tendrils that intertwine inside the dirt from which they grow?

As it turns out, this malleable network can, per Philip Ross“be used to form a super-strong, water-, mold- and fire-resistant building material. The dried mycelium can be grown and formed into just about any shape, and it has a remarkable consistency that makes it stronger, pound for pound, than concrete.” (via Inhabitat)

Stools and chairs are just the start – stone-like arches and eventually whole buildings may be yet to come. Like bamboo, the speed of growth and workability of the material make it a great candidate for locally-grown architecture, particularly in fungi-friendly climates. The strength of concrete, but easier to create and lightweight to boot – we have not seen the last of mushroom-based building technologies.

Categories
Urban Gardening

Tomato Truck


We got out to the garden a couple of days ago, and on a whim, wheeled one of our yellow dump trucks with us. It made a great container for us to fill up with all the last-minute yellow pear tomatoes we could find. It was like a treasure hunt, peering into the jungle of tomato vines, trying to spot those beautiful golden gems. A few tiny red tomatoes were hiding in there too…which promptly ended up in Noah’s mouth as a juicy snack!


After loading up the tomatoes, we made a big production of driving the dump truck into the house, where we ate most of the harvest with our lunch. Some ended up in a pile on the counter, next to the last of our green peppers and one lone cucumber.


Each day we have been filling up our pockets with any green tomatoes we can find. The kids have found this hilarious: scandalous, even–for all summer long I have emphasized to ONLY pick the yellow or red tomatoes, NOT the green. They think they are getting away with something, plucking the green ones! But alas, all those green tomatoes are coming inside with us, for the warm ripening days are over. Of course tomatoes taste best when ripened on the vine, but we will try to get some more out of our last harvest by placing all the underripe ones into a paper bag with a banana. The ethylene gas released by the banana as it ripens will also help the tomatoes reach their potential. Last year we tried the same technique with an apple, and got pretty good results. I read that bananas release much larger amounts of ethylene than any other fruit (like apples), so we are curious to see if we get better results than we did with the apple.


(Note: Bananas, for all their wonderful qualities, are not a sustainable food source as sold conventionally. Many people who seek sustainable lifestyles and want to lessen harm to earth and their fellow earthlings have given up bananas completely. I have cut back, but have found it very difficult to give these amazing and versatile fruits. Keep an eye out for a discussion here on the blog about bananas and their place in a sustainable diet and world.)

Categories
Uncategorized

Pickled Crabapples

A taste of fall: homemade pickled crabapples

by Stark Bro’s on 10/04/2012
Crabapples 

There are several crabapple trees in our neighborhood that go unharvested. Every year the apples fall to the ground to rot, when they could be utilized in several ways, even if not for eating fresh. Most people do not realize that these little fruits can make delicious food! Here is an interesting way to prepare them: we will be trying it soon. -Andi


When most people think of crabapples, they think of small, inedible* fruit. The trees they grow on are often beautiful (even ornamental), and they are excellent pollinators, but traditionally, crabapples aren’t eaten fresh. They are more likely to be used to make jellies and jams, or, in the focus on today’s blog post, pickled crabapples. Some of you might remember pickled crabapples as a side at Thanksgiving along with, or as an alternative to, cranberry sauce. Try the recipe below to enjoy your own delicious, homemade pickled crabapples!

Canned (Pickled) Crabapples

Preparation Time: 2¼ hours
Yield: Approximately 6 pints

You need:

  • 3 pounds crabapples
  • 3 cups extra fine granulated sugar or 2½ cups honey
  • 2½ cups cider vinegar
  • 2½ cups water
  • 1 teaspoon whole cloves
  • 1 teaspoon whole cardamom seeds
  • 3 sticks cinnamon, each broken in 2 or 3 pieces

Directions:

  1. Wash the crabapples (discard those that are blemished), wipe clean the blossom ends, and leave the stem intact but trimmed short.
  2. Prick the crabapples in 2 or 3 places with a fine skewer and place half in a large kettle. Cover with the sugar (or honey), vinegar, and water. Stir all together.
  3. Tie the spices in cheesecloth and add to the crabapples in the kettle.
  4. Cover the kettle and bring to a boil. Reduce the heat to a gentle simmer and cook for 15-20 minutes, or until the apples are tender but not falling apart.
  5. Remove the crab apples from the hot syrup and put aside. Repeat with the remaining half of the crabapples.
  6. When all the crabapples have been cooked, remove the kettle from the heat and return the first batch to the hot syrup.
  7. Allow the apples to cool in the syrup.
  8. Drain the crabapples, discard the spices, return the syrup to the pan, and bring to the boil.
  9. Pack the crab apples into pint or quart jars, cover with the boiling syrup to within ¼ inch of the tops, and screw on the lids.
  10. Process for 20 minutes in a boiling water bath.

The recipe above was excerpted from Granny Smith’s Apple Cookbook © Olwen Woodier used with permission from Storey Publishing.

*Note: There are also edible varieties of crabapple that are slightly larger and much sweeter. If you are using sweet, edible crabapples in this recipe — like Chestnut Crabapple or Whitney Crabapple — consider adjusting the amount of sweetener used (sugar or honey), since such a large quantity will not be necessary.


Original Post HERE

Categories
Uncategorized

Our Sunflower House!


A Sunflower House is an awesome garden experience to work on with the little ones in your life!


Our dreams of a sunflower house started when I checked out a copy of Roots Shoots Buckets and Boots by Sharon Lovejoy. What a magical book! With soft watercolor illustrations and easy to read instructions (she calls them ‘recipes’), Lovejoy showed us such wonderful ideas: a pizza patch, a tub of potatoes, a butterfly garden. This book is such an amazing tool for drawing kids into gardening, that I actually bought a copy of it. We like looking at the pictures and reading about the ideas during story time.


The illustrations for a Sunflower House project drew us in immediately. A clubhouse made of sunflowers! The kids were all as mesmerized by the idea as I was, and we started making big plans that very day. This ‘RECIPE‘ is not from Roots Shoots Buckets and Boots, but it looks great, too, check it out!


Here are Noah and Ella, measuring our space:


Now, things did not go as smoothly as I’d hoped, in the beginning. It took us a lot of tedious labor just to prepare the trench into which the seeds would eventually go. With the first plunge of our trowels into the soil, we realized we were actually digging into a bed of stones. Using a large shovel and several trowels, we spent hours (spread out over several days) scraping out stones, filling our little wheelbarrow, emptying it, repeating. I simply could not believe how many little stones could take the space of a tiny trench!


Here we are, working on our trench:


Next we filled the trench with soil.


The most exciting part came when we put in the seeds. We had several different varieties of sunflowers (which I had found at the dollar store for 3/1.00!). We followed Lovejoy’s ‘recipe’ for measuring out the space between each seed, and alternating varieties in order to create a variegated wall of flowers. This took much more concentration than I had expected (I ended up with quite a headache, actually).


THEN the struggles really began. Within two days, almost all of our seeds had been very obviously sabotaged. Only little, empty holes remained. Some critter had come to feast, and I can’t say I blamed them. I mean honestly, there is not a much more tasty seed to eat than a sunflower seed! I was chagrined to think of all the concentration that had gone into the careful measuring, counting, planning—all for the benefit of some tiny paws (or beaks) set on indiscriminate devouring. We put more seeds in. This time, we just sorta kinda followed a plan. The holes left by little digging paws showed us where to replace the seeds, so no measuring.


Result of planting effort #2? Almost every seed, dug out and eaten. A few of seeds that had survived the first planting were starting to sprout. Out of those, 2 had been sliced, I’m assuming by cutworms.


We were already into the 3rd week of attempting to start our sunflower house, and feeling a bit gloomy. I had an ‘aha’ moment, after stewing for an entire evening about the critters that had found a free buffet in the yard. I thought we could start the seeds indoors, and then after the plants were bigger, stronger and less vulnerable to attack, we could transplant them into the trench.


For 2 whole weeks, we nursed the indoor sunflowers sprouts. By now we are pretty good at taking care of indoor starts—and I had confidence in our success due to the wild success of our tomatoes (which we started from seed this year and were at that point really starting to take off outside in the garden).


The day came for the transplant. Lovingly, gently, we put all the seedlings into their homes (and at this point I was still sort of trying to alternate varieties as we went along).


AND….within the DAY, all the sprouts DIED.


By now, my enthusiasm had been transformed into pure and utter frustration. I still wanted the kids to get a chance to have a sunflower house. I still believed in this project and could still see, in my mind, the magical playspace we had dreamed of. They had begun to look at me suspisciously whenever I talked of our sunflower house plans. They didn’t trust that the whole idea was even true anymore, and probably thought it was all a fairy tale. The project was no longer something they were thrilled about, so I sort of had to forge on with this one on my own, still determined.


I took the rest of the seeds that I had (plus I went the dollar store and bought the rest of their packets—not a huge loss at 3 packs for a dollar), and went on a seed planting frenzy. No measuring, no careful sorting and alternating. I just took those seeds and started pushing them into the ground, one after another, going around the perimeter several times. I may have cursed at the seeds a couple times (so much for tender loving care), so it’s a good thing the kids weren’t around during this planting.


But hey…there is a happy ending after all! We’ll just sorta skip over the ‘dark moments of the sunflower house project’ and pretend it all went the way it was meant to. 😉


Sprouts began to not only come up, but thrive. Critters stayed out of sight (I am pretty certain the neighbor’s trusty cat had a lot to do with this. And I am also pretty certain we praised that cat profusely when we saw him stalking a chipmunk). I began to really believe that we might have success, and the kids began to notice that something was happening with our seemingly abandoned project.


Fast forward to now—after weeks of tending the finally successful sunflowers–and the dream has become a reality. Once the sprouts established themselves all they needed was occasional watering. The kids now have a magical place to play. With no prompting from me, I find them in there with their snacks, books, or just hanging out.


The bees have come to our flowers in droves. Initially this alarmed a few of the kids, who are terrified of anything that buzzes. I explained that the bees won’t usually sting if they are left alone, and that they have a wonderful job–helping all plants to keep growing and thriving. The kids have learned to get excited when they see a bee happily crawling around on one of the flower’s faces.


We can see the sunflower house from Noah’s bedroom window, which is a nice touch. When it’s not quite time to go outside for the day, the kids can peer out the window at the wonderful thing we have created! All the struggle, hard work, and frustrations were absolutely worth it, and you can bet that a sunflower house will grow in our yard every summer from now on.